Farmhouse Stairwell Accent Wall
March 16, 2023
By: The Finished Space
How to Create a Stairwell Accent Wall
You can add an accent wall of decorative moulding! This makes your home look custom and high-end, while adding interest to this blank space. Plus, it’s something you can do yourself.
Step 1: Measure & Create Your Design
First, grab your tape measure and take measurements of the entire wall. Then, use graph paper and have some fun creating potential designs. This project highlights an accent wall with traditional style, but you can change yours up based on the style of the rest of your home.
For this accent wall design, we’re using S4S boards that are three inches thick, along with a decorative moulding on the inside of each panel. Add up the length of all your boards and add at least 10% to the total so you have some extra on hand.

Step 2: Accent Wall – Supplies
Here are the supplies you’ll need to complete this project.
Decorative Moulding
Scaffolding or Ladder
Paintable Caulk
Brad Nailer and nails (2-inch, 18 gauge nails)
Caulk Gun
Painter’s Putty
Compound Miter Saw
Protractor
Paint
Paint Roller & Tray
Paint Brush
Painter’s Tape
Tape Measure
Spirit Level
Safety Gear
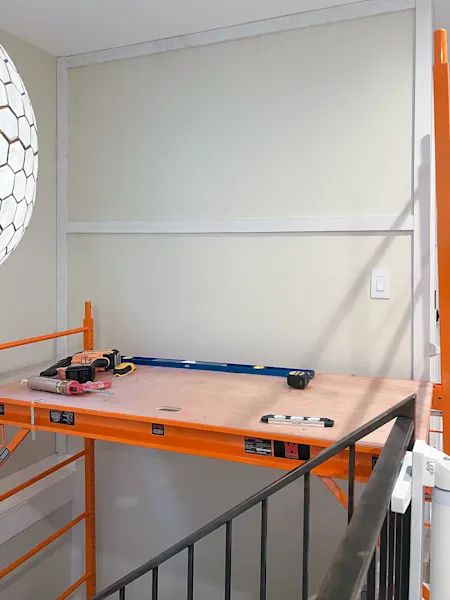
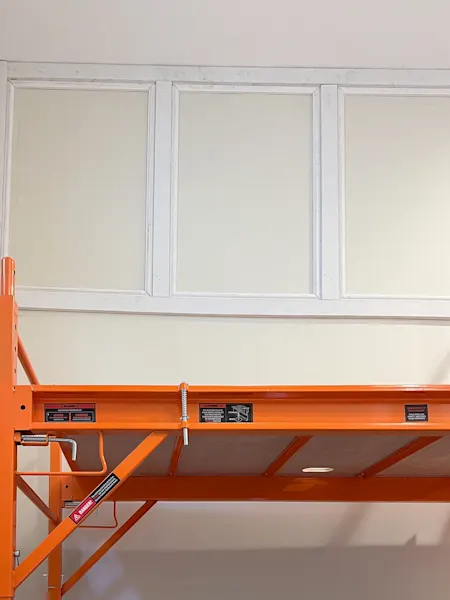
Step 3: Make A Safety Plan
Because this is a stairwell accent wall, you’ll need to keep safety in mind to reach the top of the wall. Scaffolding works well to give you a strong base while you’re working away. You can rent this piece of equipment, borrow from a friend, or buy your own if you have lots of projects on the horizon. Or you can use a tall ladder and enlist the help of a buddy to pass tools up to the top. Either way, come up with a plan and stay safe.
Step 4: Add Your S4S Boards
Start at the top of the wall and add your first horizontal S4S board at the top of the ceiling. Use the miter saw to cut it to the exact size of the width of the wall. To attach the board, use both liquid nails (2-inch, 18 gauge nails) and a brad nailer into the studs of the wall.
With the top piece up, you can attach the two vertical boards on the perimeter of the wall. Follow this up with the second horizontal board and the two remaining vertical boards. Use your spirit level as you go, making sure everything is level.
Step 5: Add Your Interior Trim
Now, you can get to work adding the interior moulding. You will want to cut these trim pieces at a 45-degree angle on your saw to miter the edges together. Each trim piece creates a little box within the panel, and you can attach them using both liquid nails and real nails.
If you don’t hit any studs, put your nails in at an angle so they “lock” behind the wall. For example, shoot a nail into the wall at a downward angle and a few inches away shoot the second one in at an upward angle. This will ensure that the trim stays in place on the drywall.
Step 6: Making Angled Cuts
The bottom is where things can get tricky because of the angle of the staircase. For these, you’ll need to use a protractor to determine the correct angles for your cuts.
For example, if your angle is 129 degrees, you’ll need to do a bit of math before you make your cut on the saw.
180-129 = 51
51 divided by 2 = 25.5
Cut two pieces of moulding at a 25.5-degree angle on your miter saw.
If you have an acute angle (an angle less than 90 degrees), you will have to make a fence for your miter saw so it can make cuts greater than 50 degrees. To do this, attach a piece of scrap wood to your saw and cut the wood at a 45-degree angle, each way. Because the fence sits at 45-degrees, it makes a 45-degree cut when the saw is set to zero. To make a 64-degree cut, you’ll have to do a bit of math again.
64-45 = 19 degrees.
Set your saw to 19 degrees and place the trim up to your fence to make that 64-degree cut.
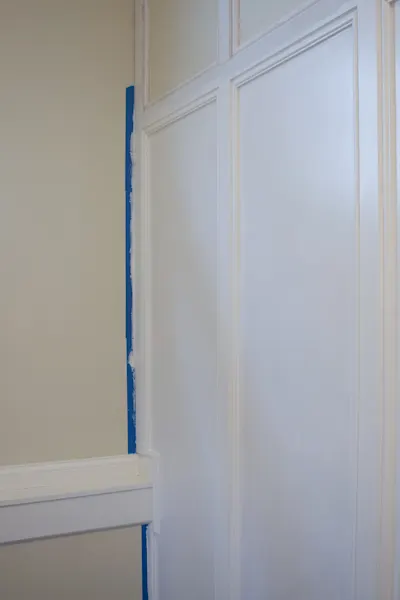
Step 7: Fill Nail Holes & Caulk Seams
When all your wood is on the wall, you can work on the finishing touches. Use painter’s putty to fill all your nail holes. Roll the putty up into a small ball and rub it into each hole.
You also want to caulk every seam on the wall to give it a polished look. Caulk helps hide any gaps and seams and makes any woodworking job look more professional.
Step 8: Paint The Wall
When your caulk dries, it’s time to paint. These boards come pre-primed, so there is no need to prime before you paint. On this wall, we went with three coats of the color Benjamin Moore, “Simply White” in a satin sheen.
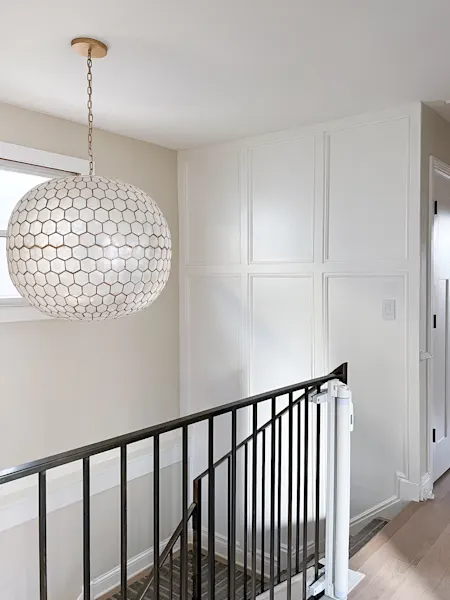
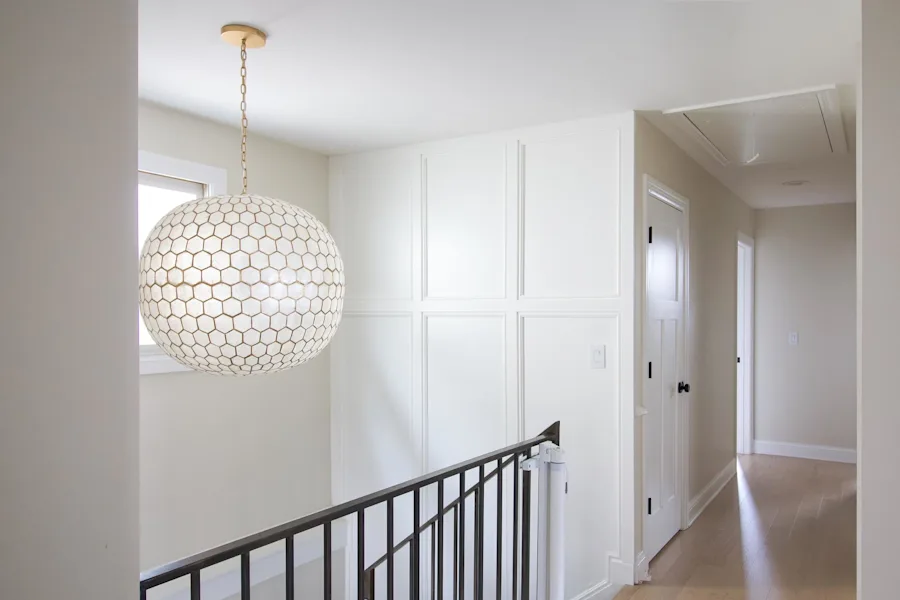
The New Stairwell Accent Wall
This blank wall got quite an upgrade with this DIY project. With a bit of hard work, and the right moulding, you too can transform your space with a gorgeous accent wall.
Thanks to Casey @DIYPLAYBOOK for sharing!