How To Cut Corner Guard Molding: 7 Steps for a Professional Installation
February 13, 2023
By: The Finished Space
Whether you’re a contractor or just a DIY enthusiast, cutting corner guard moulding is a crucial skill you should master if you want to install your own moulding. Fortunately, it’s not as complicated as you might think.
Since we’ll be teaching you how to cut corner guard moulding, we decided it might also be a good idea to know how to install it, as well. That’s why we’ve created this step-by-step guide for cutting and installing corner guard moulding.
A Step-by-Step Guide for Installing Corner Guard Moulding
Here are the installation steps you should follow when installing corner guard moulding:
If you’re a professional contractor or experienced DIYer, these steps should be a breeze. If you’re new to home improvement projects, don’t worry. Simply take your time, follow the steps below, be safe, and you’ll have professional-looking corner guard moulding in no time!
Step One: Gather Supplies
Before you start cutting the moulding, you need to gather some tools and supplies that’ll make the process much easier. Here’s a list to get you started:
Corner Guard Moulding
Miter Saw
Measuring Tape, Protractor, and Level
Paint and Supplies
Drill and Screws
Nail Gun
Caulk Gun
Sandpaper and Utility Knife
Mask, Gloves, and Safety Glasses
Depending on the style and size of your project, you may need more than this, but as a rule of thumb, you should at least have these supplies ready. If you’re going to be doing more DIY projects from here on out, it is a good idea to have a lot of these items on hand.
Step Two: Measure and Prep the Corner Guard Moulding
Next, you need to prep the corner guard moulding by taking accurate measurements, including the corner angle. This information is a vital part of the installation process because if you have the wrong measurements, you’ll have to start over again, so take the time to make sure your measurements are accurate.
Step Three: Cut the Corner Guard Moulding
Next, you’ll need to cut and miter the corner guard moulding. Mitering is when you join two pieces of moulding together at an angle to match the corner you’re covering. The measurement is usually 45 degrees, but not always. Remember to be precise when calculating the angle.
Using your miter saw, cut the moulding at the appropriate angle. Once that’s done, place the moulding against the corner to make sure it fits properly. Then, repeat that process for the other piece of moulding, making sure the two pieces connect when you push them together. Last, you’ll need to cut the pieces of moulding to the desired length.
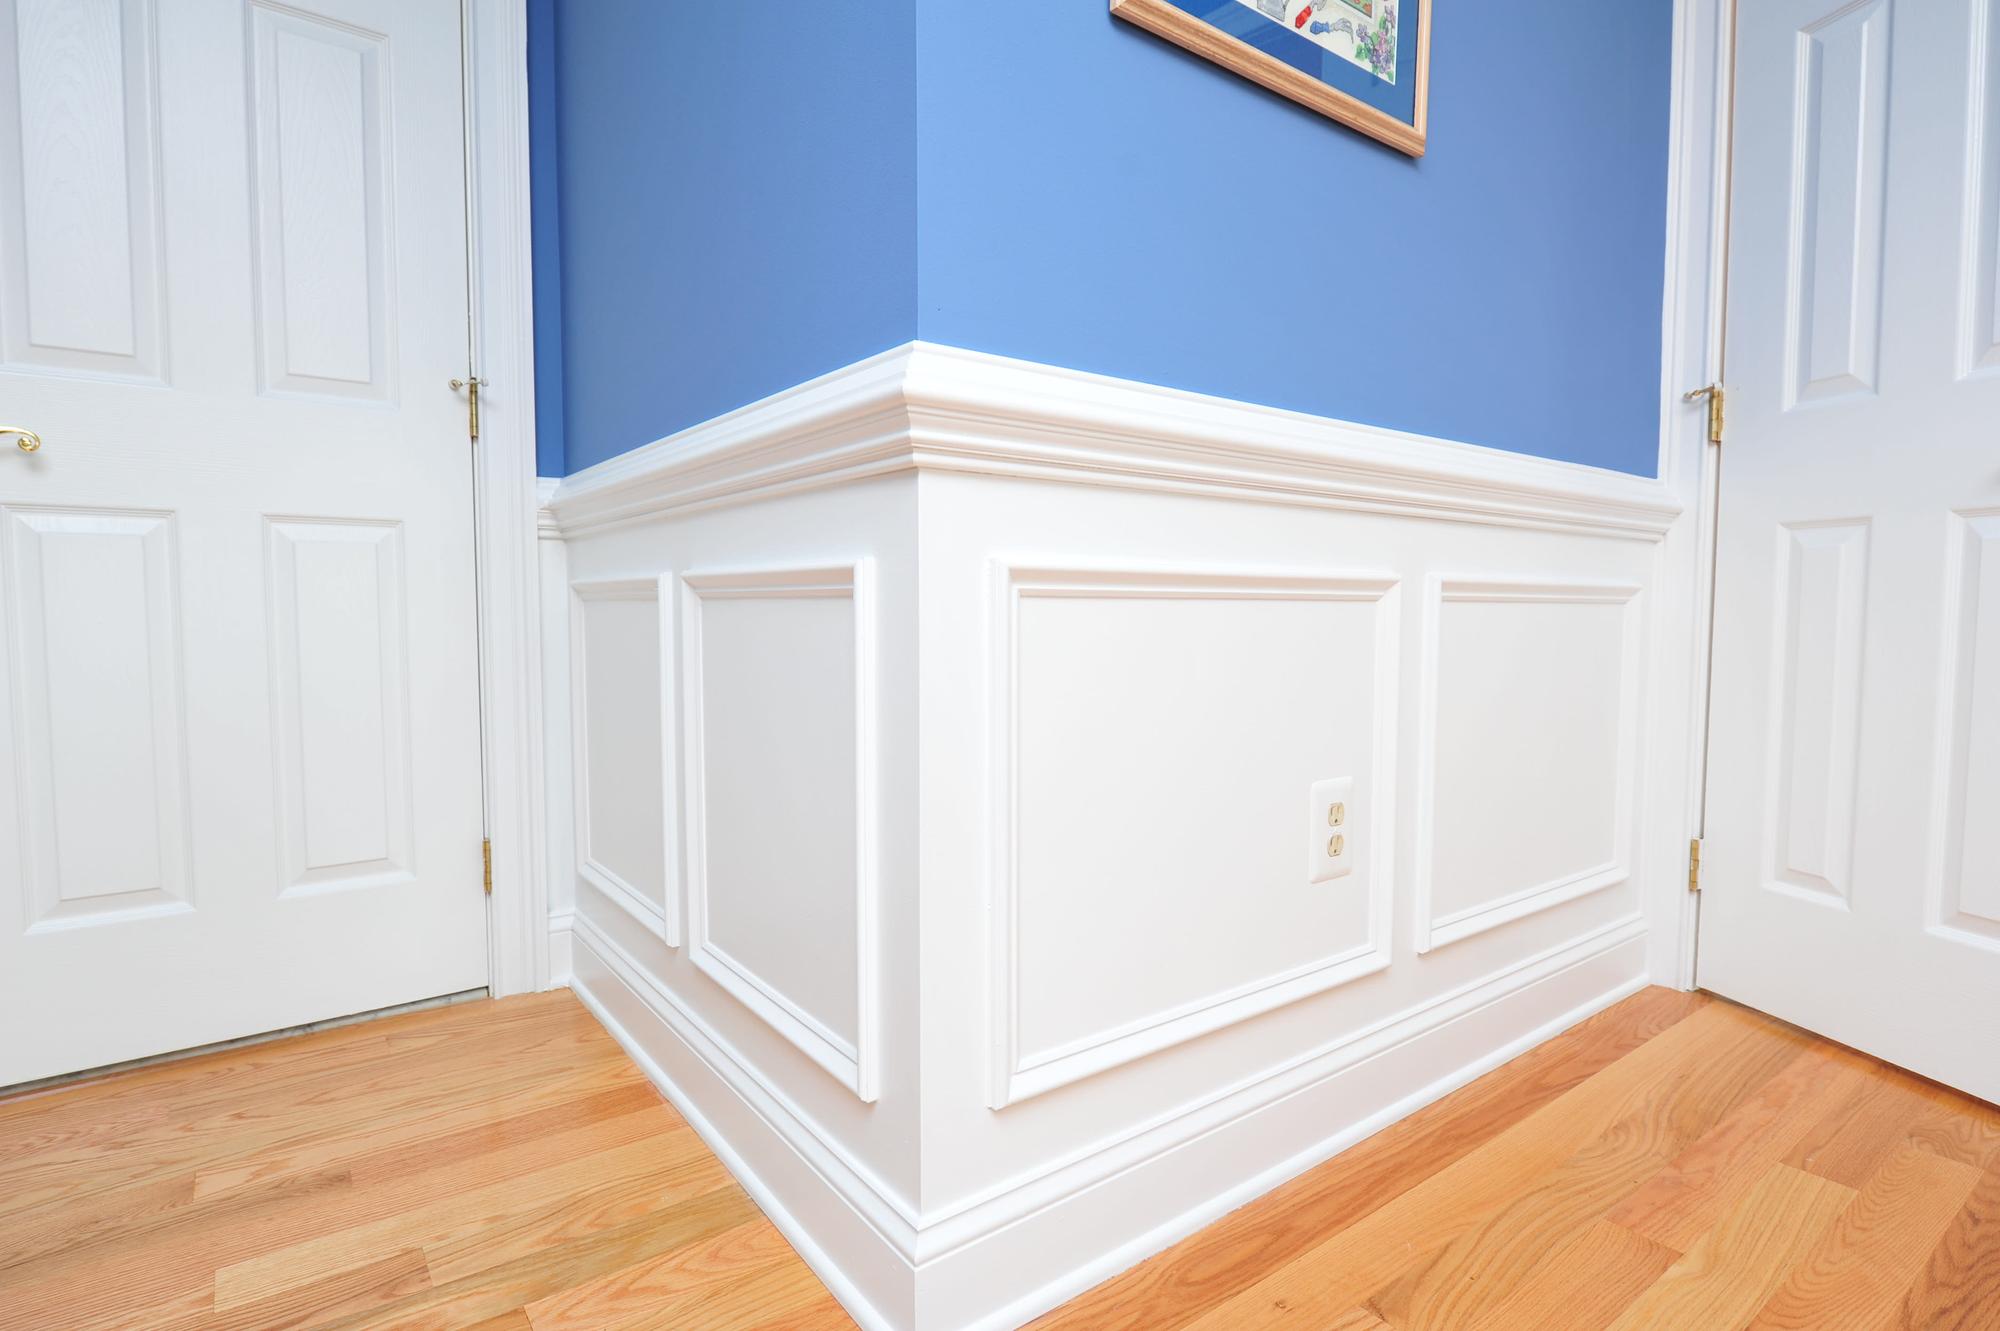
How to Cut a 90-Degree Corner Guard Moulding
Creating a precise 90-degree corner moulding cut may seem challenging, but it’s completely doable. Start by measuring the wall and corner just like we outlined above. Then use your miter saw, in the location, with the sharpest tip at the center of your moulding.
Alter the angle to 45 degrees, measure both sides, and adjust the moulding accordingly to make sure you have a 45-degree angle setting. Then, trim each end and cut out the shape at sharp angles, to ensure that the edges are even. Finally, adhere all the pieces securely together on both the top and bottom, and you’re good to go!
Step Four: Mark the Location of the Corner Guard Moulding
Once you’ve cut the corner guard moulding to the right size, use a carpenter pencil to mark the location where you’ll be installing it. Use a level to ensure that everything is straight and properly aligned.
Remember: take your time and be as precise as possible because if you get any of these steps wrong, you’ll have to start over.
And, as always, be safe!
Step Five: Drill Holes for the Screws
Next, you have to drill small holes for the screws. To do this, you’ll need to use a drill bit that is slightly smaller than the screws you’ll be using. This is a pro tip for screwing in supplies because it enables you to get a snug fit that’ll last much longer than if you free-handed everything.
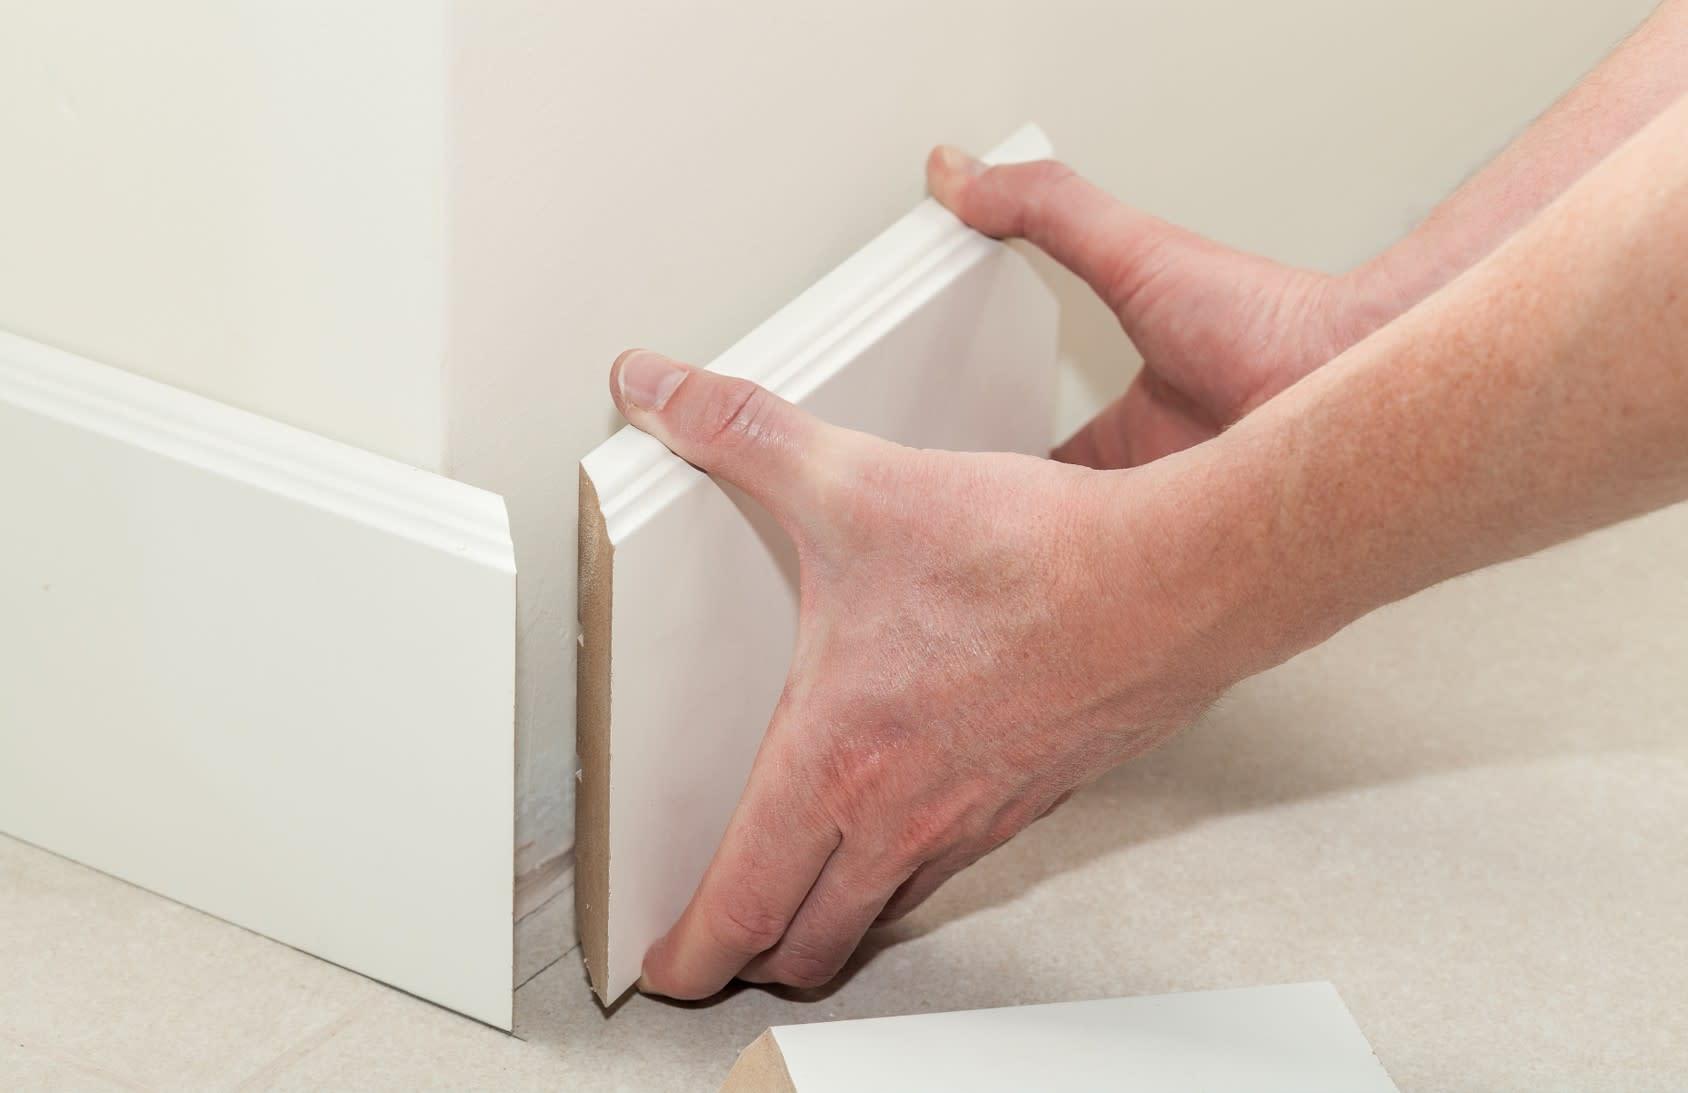
Step Six: Install the Corner Guard Moulding
Finally, it’s time to install the corner guard moulding. Line up the moulding with the holes you drilled and screw it into place. When you’re attaching the moulding, make sure the screws are tight and flush with the surface. If you accidentally leave a gap behind the moulding, it could lead to a buildup of dirt and debris, which could result in damage in the long run.
Step Seven: Add the Finishing Touches
Once you’ve installed your corner guard moulding, it’s time to use the sandpaper, caulk gun, and paint to cover up or fix any imperfections. Then, once you’re happy with your results, take a step back and admire the results. Now you’re finished!
Looking for Industry-Leading Corner Guard Moulding?
If you’re considering installing corner guard moulding in your home, it’s in your best interest to work with a company known for its craftsmanship and high-quality customer service. At Metrie, we have a reputation for always putting our customers first and offering the best products on the market.