Smart Starts for Rewarding Renovations
The first step to any at home improvement project is ensuring you have the right measurements. Let us help you plan well with step-by-step guidance.

To measure your room, you’ll need a few essentials
Tape measure | Pencil | Paper | Friend
Step 1: Draw Out Your Floor Plan: Using your pencil and paper, create a rough sketch of your room. It doesn’t have to be fancy! You just need a basic drawing of your room.
Step 2: Pick a Starting Wall: Start measuring one wall, making sure your tape measure is tight into the corner and straight on the wall. Write down the measurement and repeat the process for each wall.
Step 3: Look For Any Obstructions: Take into account and measure any features in the room, such as windows, door openings, or bump outs. This will help you factor the right amount of moulding or trim you’ll need.
Step 4: Always consider purchasing an extra 10% of product in case of underestimation, damage or in case you made a bad cut.
Learn how to measure a room for moulding & trim
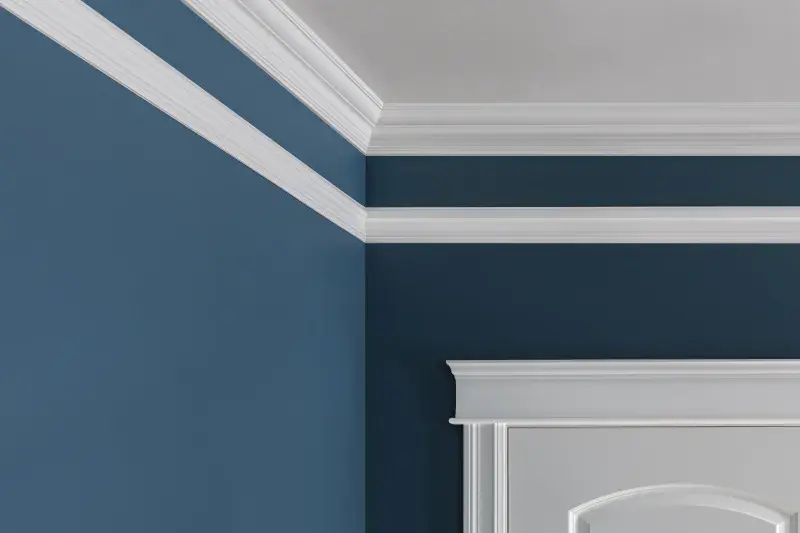
Tips for Measuring for Crown Moulding
Take the room’s features into consideration and measure accordingly. If you have a bump out, include the measurements on both sides. If you have architraves, you’ll need to measure from there to the top of the ceiling to ensure the crown moulding you select will fit.
If you have any pillars or arches that you’ll be running crown moulding around, you’ll need to factor in outside miter corners and include them in your trim measurements.
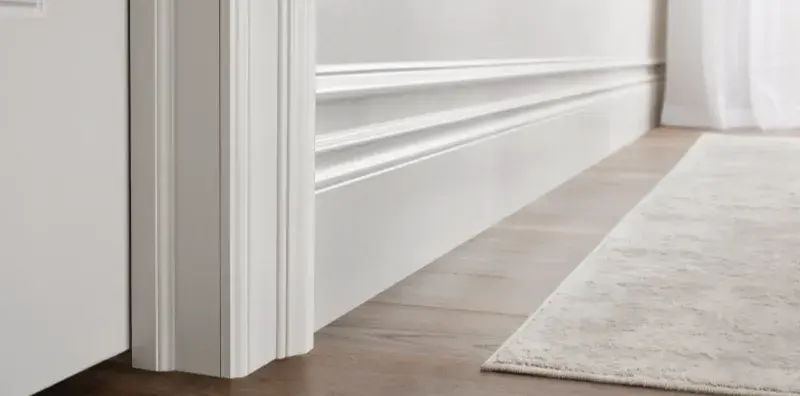
Tips for Measuring for Baseboards
Much like measuring for crown moulding, you’ll want to consider the room’s features. But for baseboards, you’ll also want to take any of the room’s obstructions into account, like electrical outlets or vents. If you have a high baseboard, you’ll want to make sure it’s not hitting your electrical outlets or wall vents. For floor vents, make sure the baseboard’s distance from the wall won’t obstruct them.
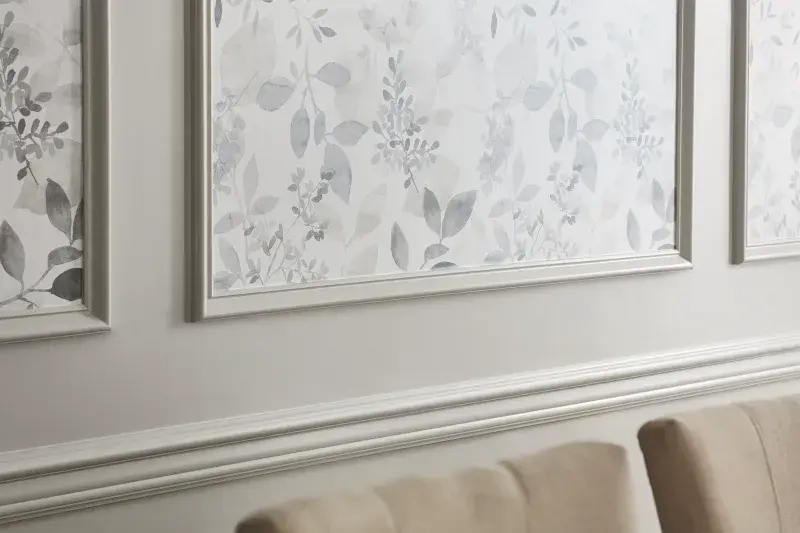
Tips for Measuring Chair Rail & Wainscoting
Start by deducting any openings you have on that wall. Using your floor plan measurements, subtract the width of the openings. That will give you the linear feet you’ll need.
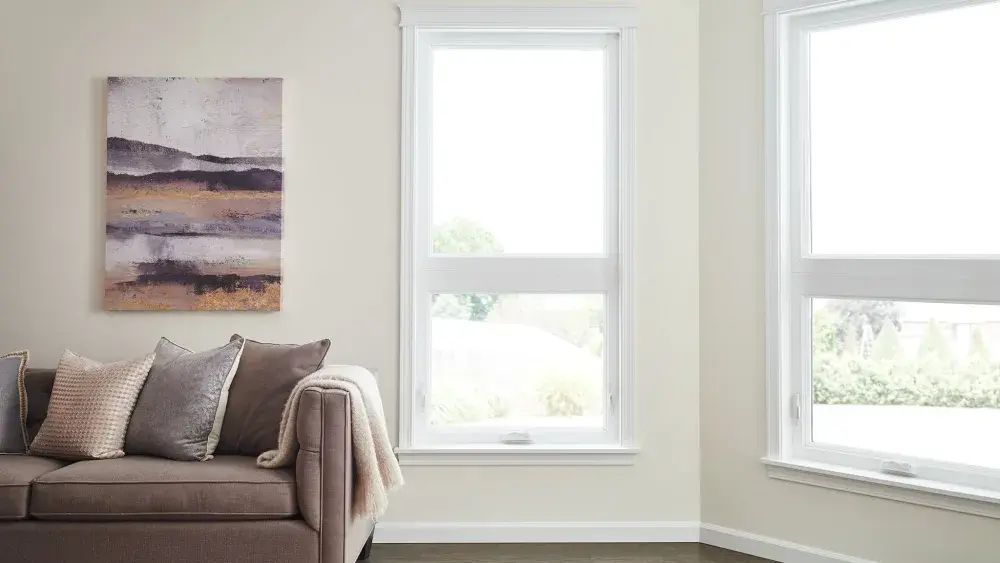
Tips for Measuring Window & Door Casing
The main obstructions to watch out for include electrical outlets and light switches to make sure the casing you choose will make the clearance widthwise. Then, measure the height and width of the opening. Finally, be sure to allow enough clearance from the wall to where your casing will be installed.
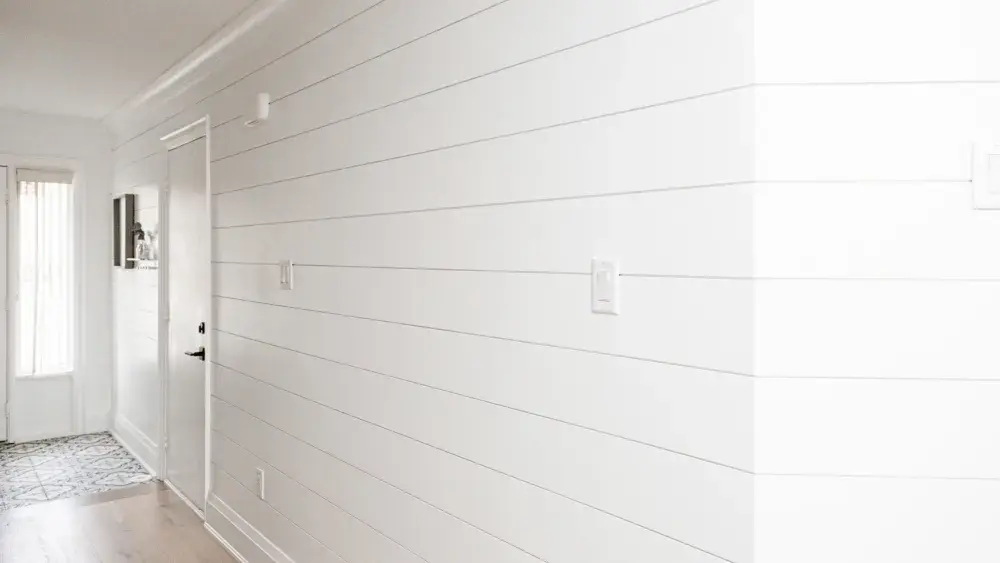
Tips for Measuring Shiplap
Step 1: Using a tape measure, measure along the bottom of your wall for the width and from floor to the ceiling for the height.
Step 2: Once you have the height and width, multiply them together to find the square footage of the area you are covering.
Step 3: You will need to decide what size shiplap board you want to use. Once you know the size, you'll need to calculate the square footage coverage of 1 board. The most common sizes are 5-1/2 inches x 12 feet, covering 5 square feet and 7-1/4 inches x 12 feet, covering 7 square feet. If you are buying a shiplap board of a different height and/or length divide the height of the board by 12, then multiply by the length of the shiplap board to get the board’s square foot coverage.
Step 4: Take the total square footage you calculated for your project wall(s) and divide it by the square footage of an individual board to get the total amount of boards needed to complete your project.
Example: If the wall is 100 square feet and you are using 5-1/2x12 boards; divide 100 by 5, which comes to 20 boards.
Learn More About Moulding

Get answers and kick-start your inspiration with The Finished Space.
We’ve collected the most in-demand design trends to spark ideas and help guide your renovation. Visit our blog The Finished Space to learn more.
