How to Put Moulding on Kitchen Cabinets
July 14, 2021
By: The Finished Space
There are lots of great things you can do to spruce up your kitchen cabinets. A fresh coat of paint and finish can do wonders. You can also update the old hardware (handles, knobs, and hinges), giving them a polished, clean, and modern appearance.
However, nothing adds quite as much personality to your kitchen cabinets as professionally applied crown moulding. It’s luxurious and eye-catching – the best way to add drama and sophistication to your kitchen without taking up space.
How to Use Crown Moulding in Your Kitchen
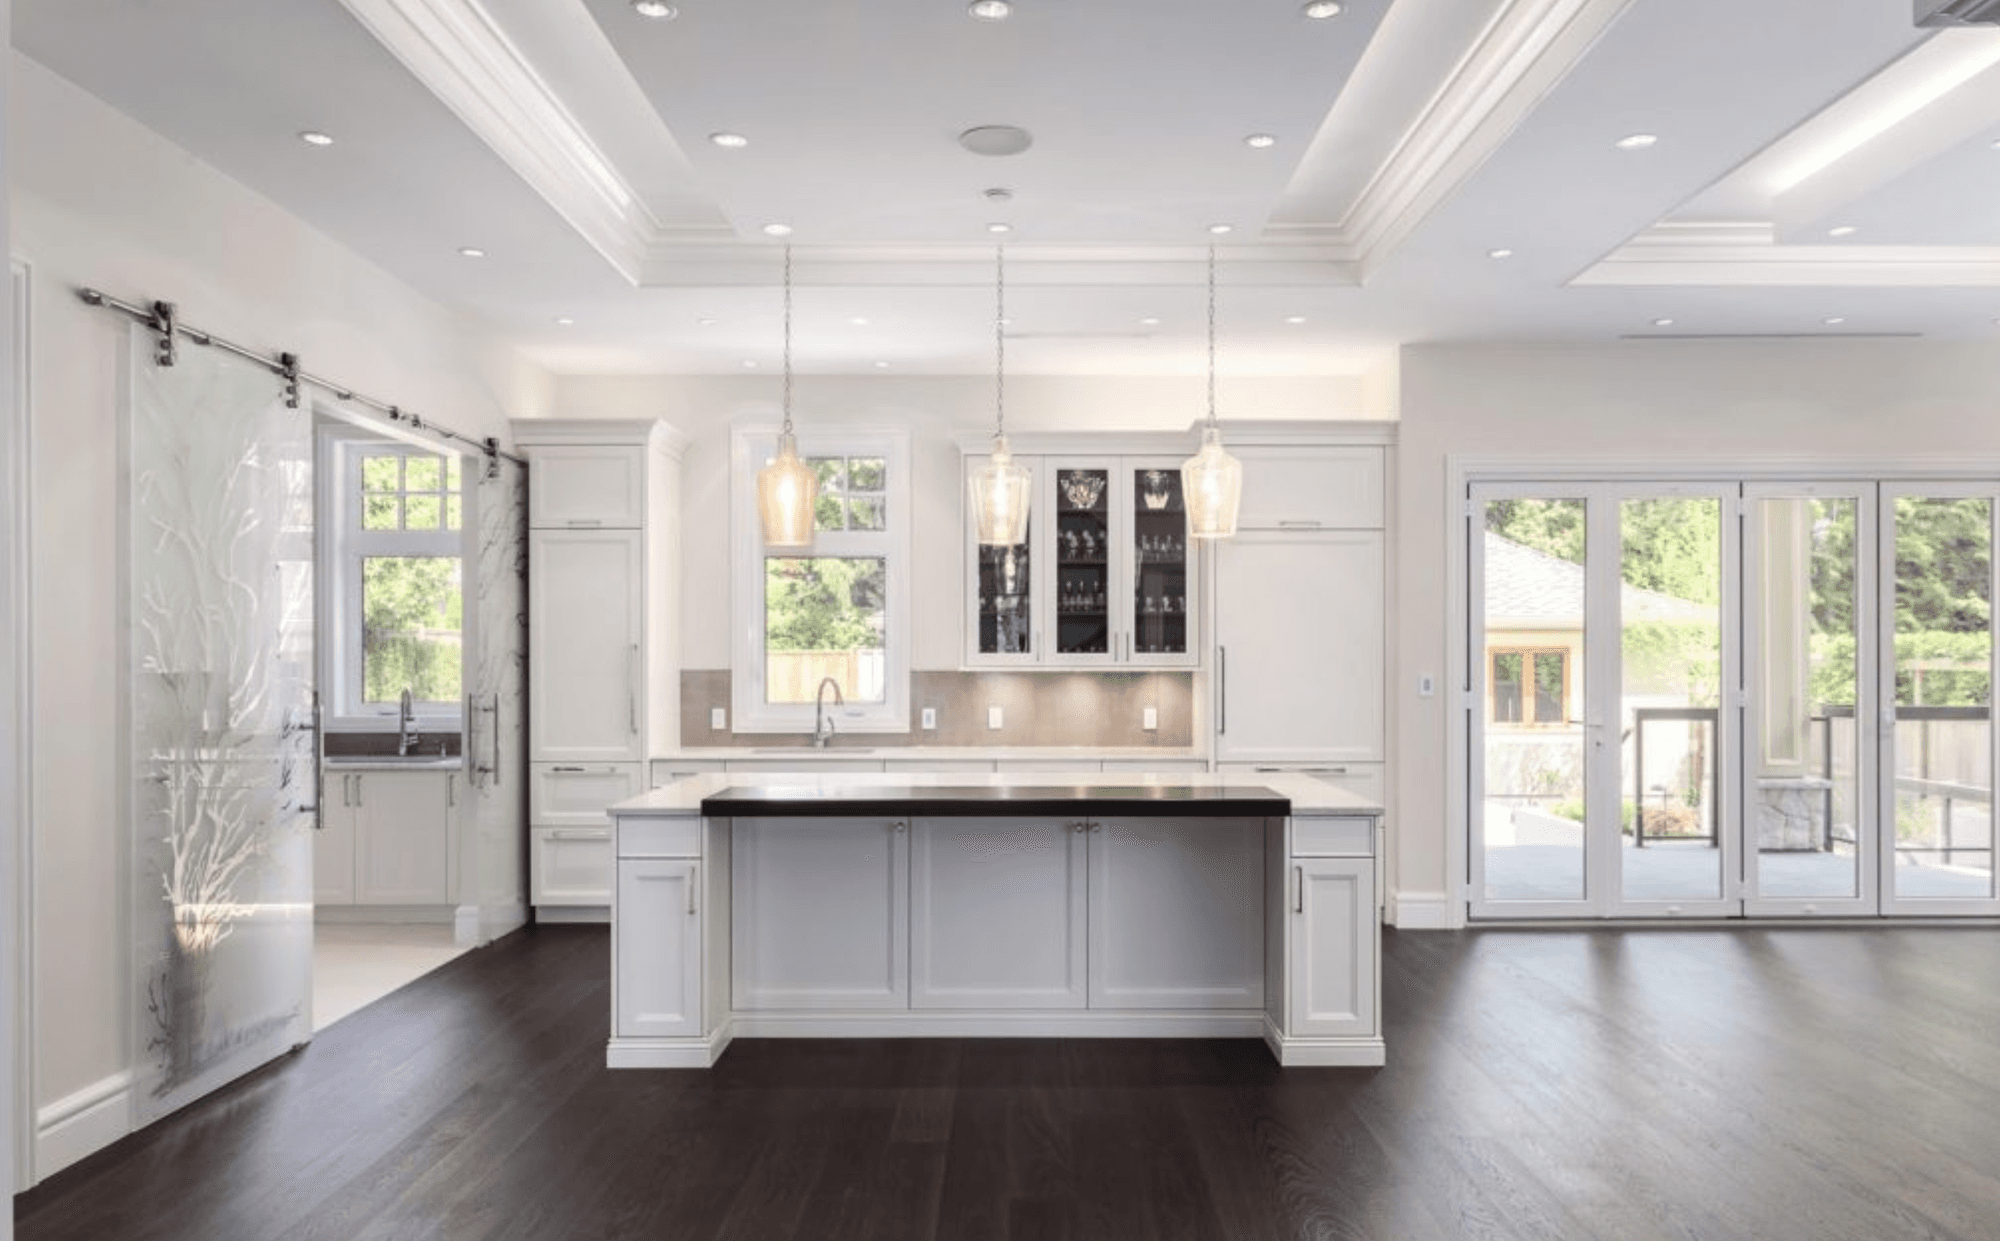
There’s more than one way to use crown moulding in your kitchen. You can apply it along the tops and bottoms of cabinets to create seamless and beautiful transitions. That’s a classic, and it looks absolutely stunning.
You can also use it to create exciting and intricate designs on the outward-facing parts of the kitchen island and cabinets, including sides and doors. There’s no reason to leave those areas flat and dull. Crown moulding is an excellent resource that adds flair and personality to places that rarely get the attention they deserve.
Cabinet Toppers vs. Applied Crown Moulding
You’ve probably come across cabinet toppers, which are another kitchen cabinet renovation. Toppers are installed above your cabinets to create more storage space. They are not the same thing as a crown moulding application, although toppers may still need crown moulding to give them a polished and finished look.
Step by Step Guide: How to Install Crown Moulding to Your Cabinets
Applying crown moulding is simple as long you have the right tools, supplies, and an understanding of the material. Professional builders or experienced DIYers shouldn’t have any issues. For reference, here’s a step-by-step guide on how to install crown moulding on your cabinets.
Step 1. Gather Your Supplies

First, you need to gather all the supplies and tools you’ll need for the process. This may include a nail gun, hammer and nails, wood glue, tape measure, miter saw, pencil, drywall hole patch, wooden boards (2×4 and 1×4), and, of course, crown moulding. The required tools and supplies may vary, depending on your project.
Step 2. Measure the Cabinets
To properly attach the crown moulding to your cabinets, you’ll need to know how long the cabinets are. Use a tape measure to get precise measurements. Remember, you’ll be cutting the wood boards and crown moulding to match the sides and front of your cabinet, so you need them to be precise.
Step 3. Cut and Create a Base
This is an optional step, depending on your cabinets and the ultimate look that you want. Using the 2×4 and 1×4 wooden boards, you’ll create a base structure along the top of the cabinets that will hold your siding and crown moulding in place. To do this, you’ll need to cut them using the measurements you just made and attach them. It doesn’t have to be pretty, but it should be stable.
Step 4. Cut and Attach Your Siding
This is an optional instruction. If you want your cabinets to extend up further or go all the way to the ceiling, you may have to attach side panels to them to make them taller. To do this, you’re going to cut using the measurements you just took and attach the side panel to the base structure you just created. Be sure to make the edges seamless and smooth. The best way to handle the corners is to cut them at an angle, so the pieces line up perfectly.
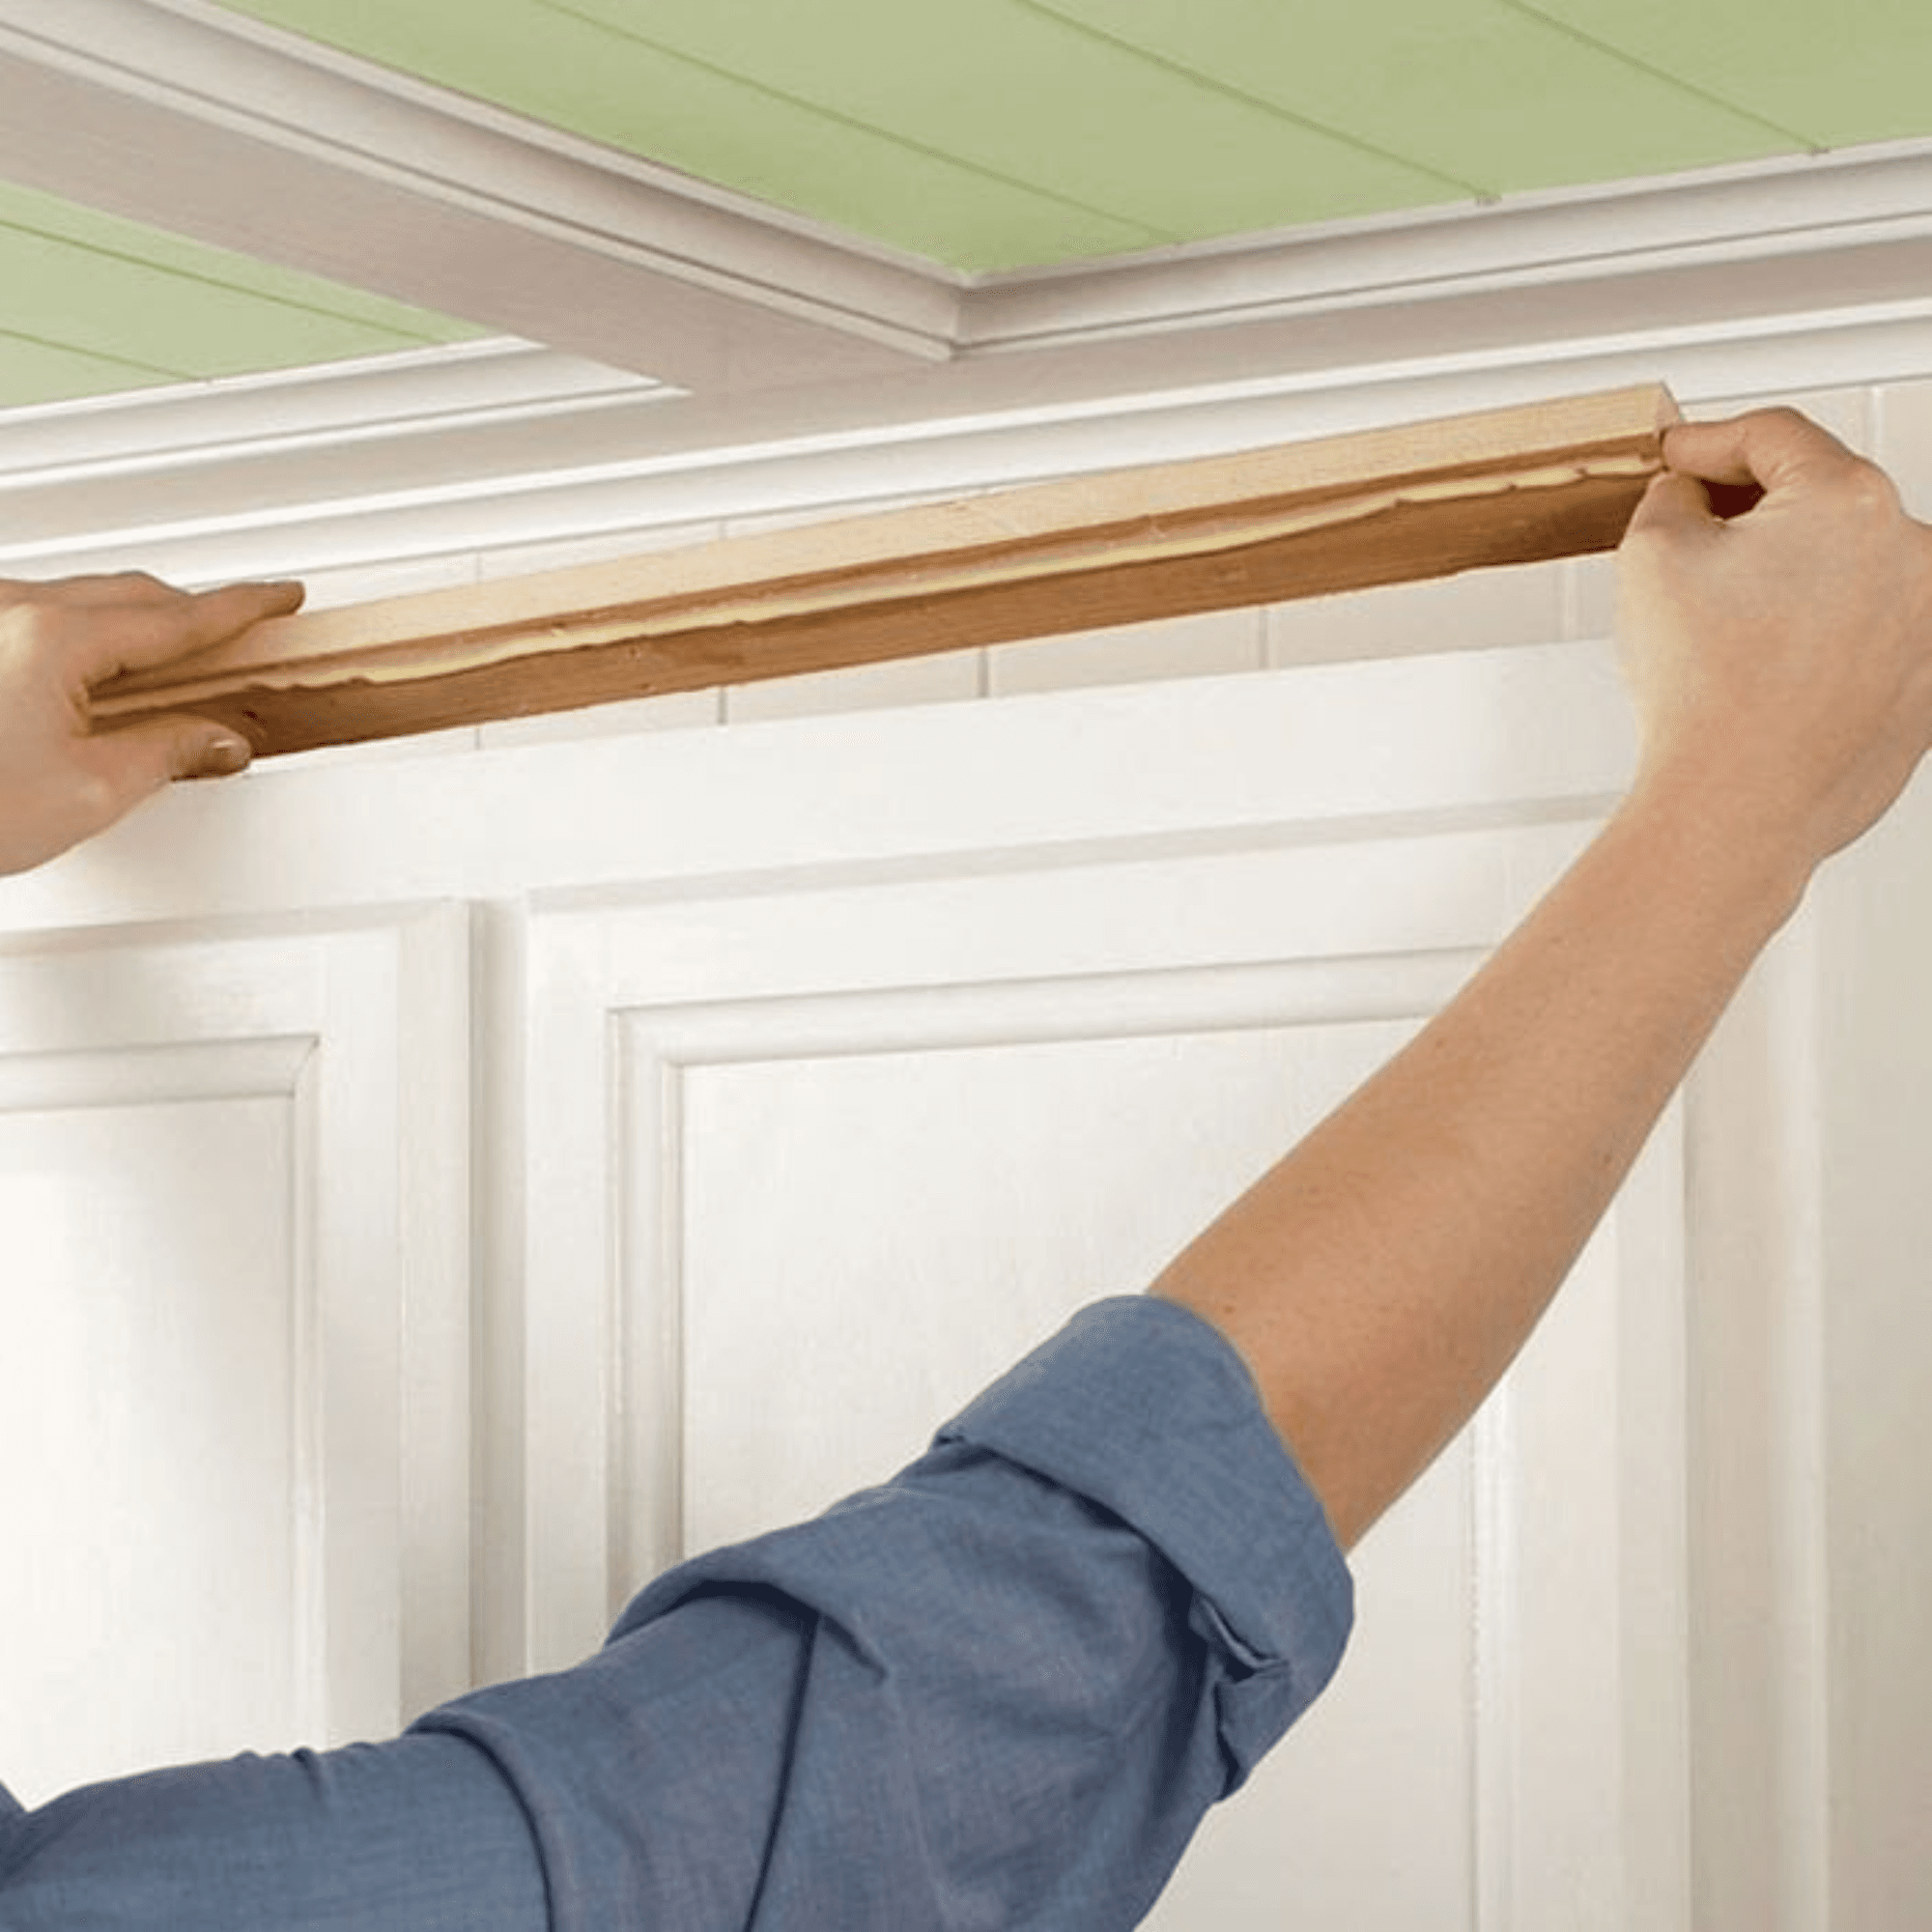
Step 5. Cut and Attach Your Crown Moulding
Cut and attach the crown moulding. This step is similar to step 4, except it isn’t optional. This is the crown moulding, after all! Again, you’ll want to pay careful attention to how you’re cutting, and remember to cut the ends of the moulding at a 45 degree angle, so they line up without noticeable seams.
Once you have the pieces cut, attach them to the top lip of the cabinets or the base that you created in step 3. Start on one side (left or right, it doesn’t matter), then move to the front of the cabinet, and then finish on the final side. Once they’re attached, it’s time to move onto the last step!
Step 6. Final Touches
Use this time to add the finishing touches to your beautiful new and improved cabinets. Fill any visible nail holes using the drywall hole patch. Make sure everything looks clean and smooth (no rough or overlapping edges). Sand down any areas that need sanding.
Once you are done, you’ll want to paint or finish the crown moulding to match or complement your kitchen cabinets. Remember, the cabinet and moulding don’t have to be the exact same color – they just have to look nice.
Now take a step back and admire your work. You did it! Congratulations.
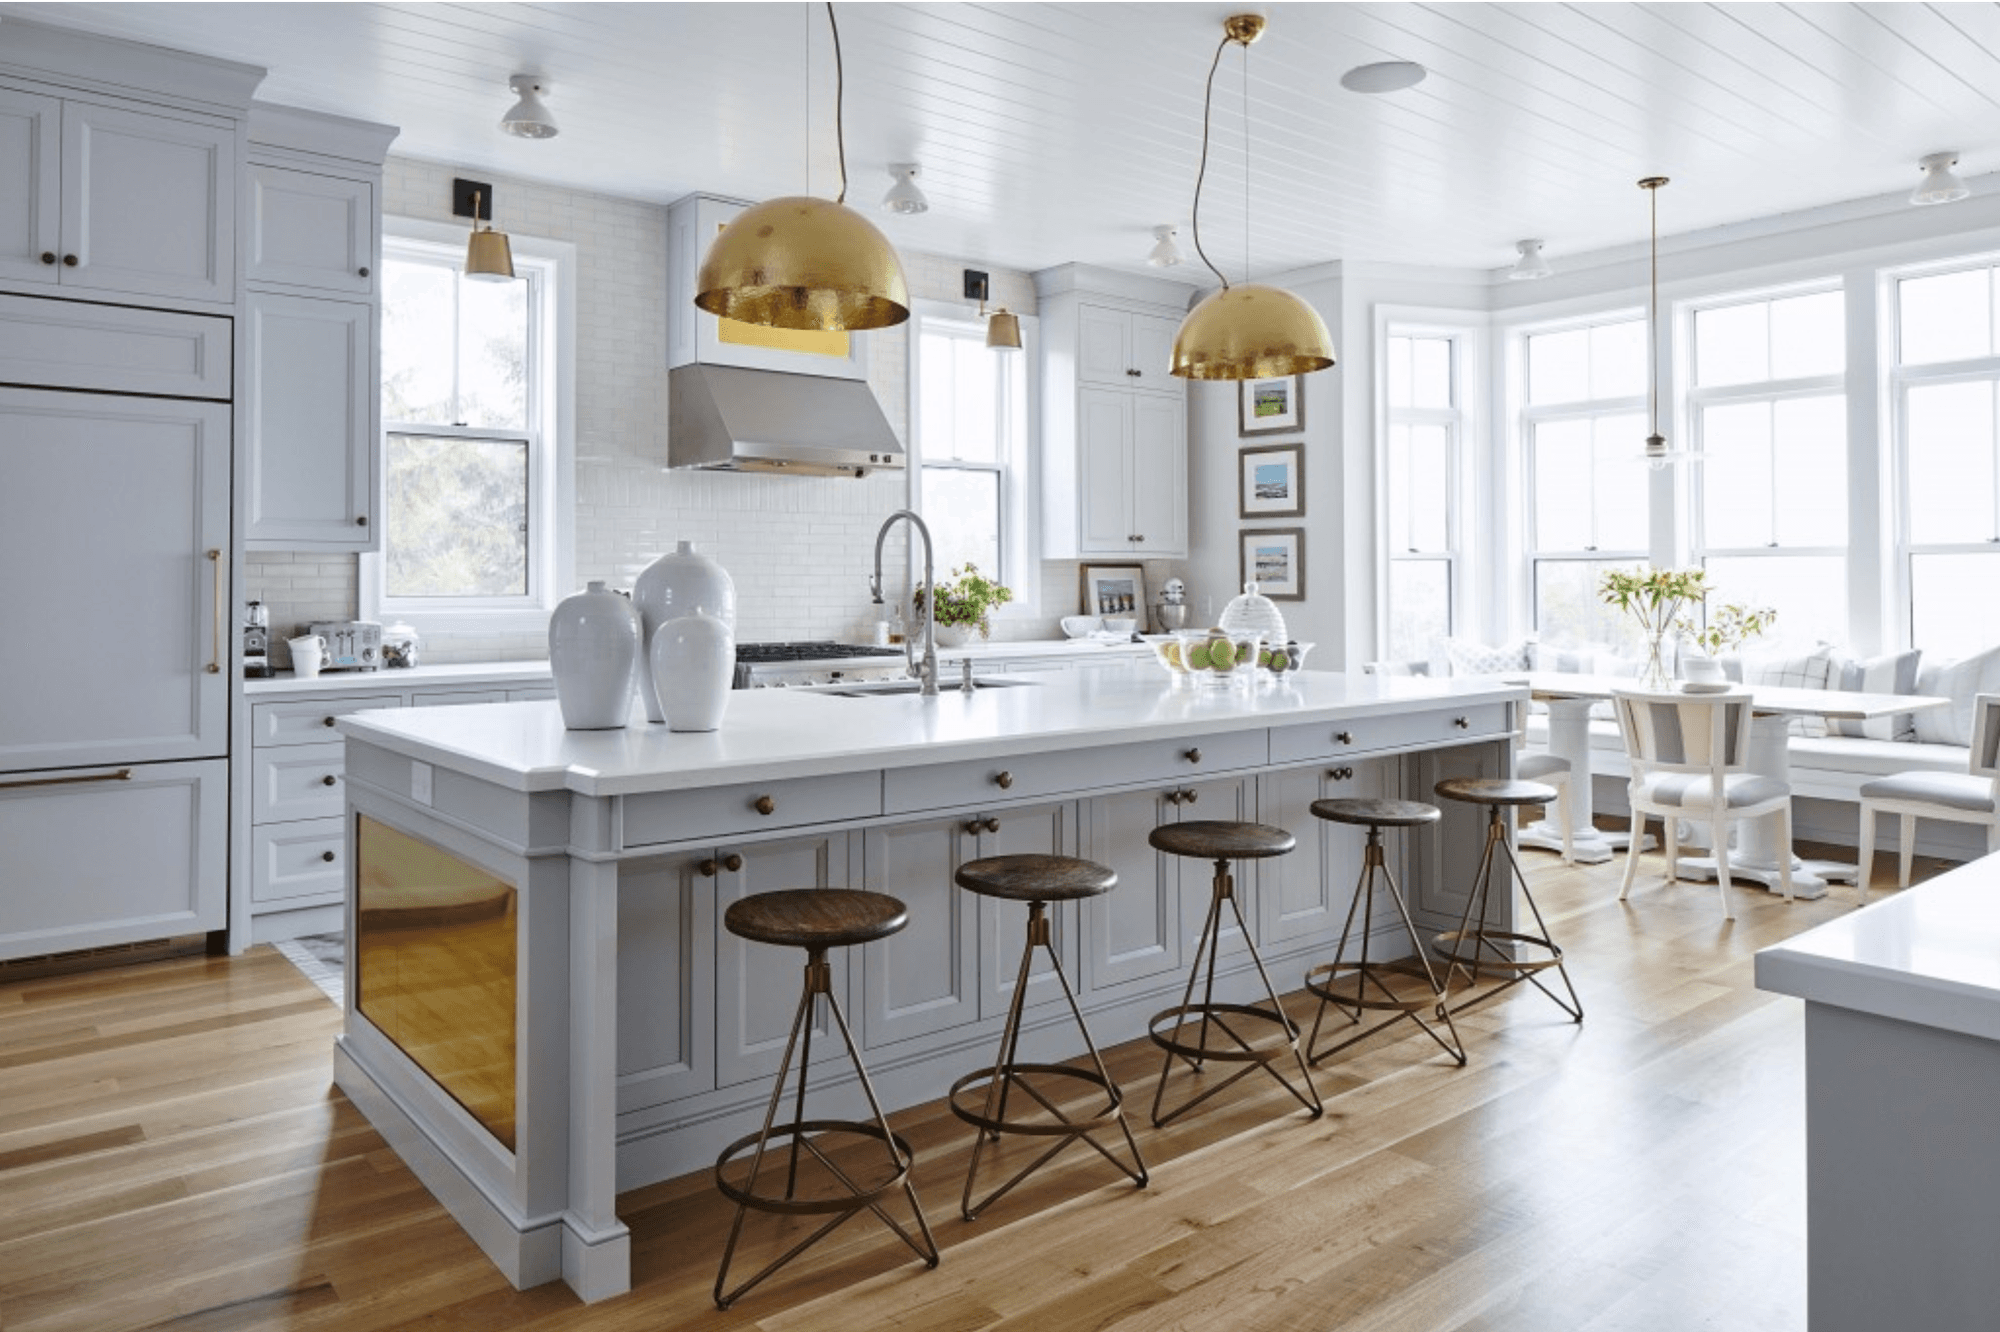
Finding the Right Crown Moulding for Your Kitchen Cabinets
These steps may vary depending on your kitchen, cabinets, style, and crown moulding, however, it can give you a pretty accurate idea of the scope of your project.
There are countless ways to style your kitchen cabinets. Do what feels right for your style, and if you want/need some help understanding what your style is, you should check out Option {M}. It’s a unique way to discover your ideal design aesthetic.