Everything You Need to Know About Crown Moulding Sizes & Dimensions
November 11, 2020
By: The Finished Space
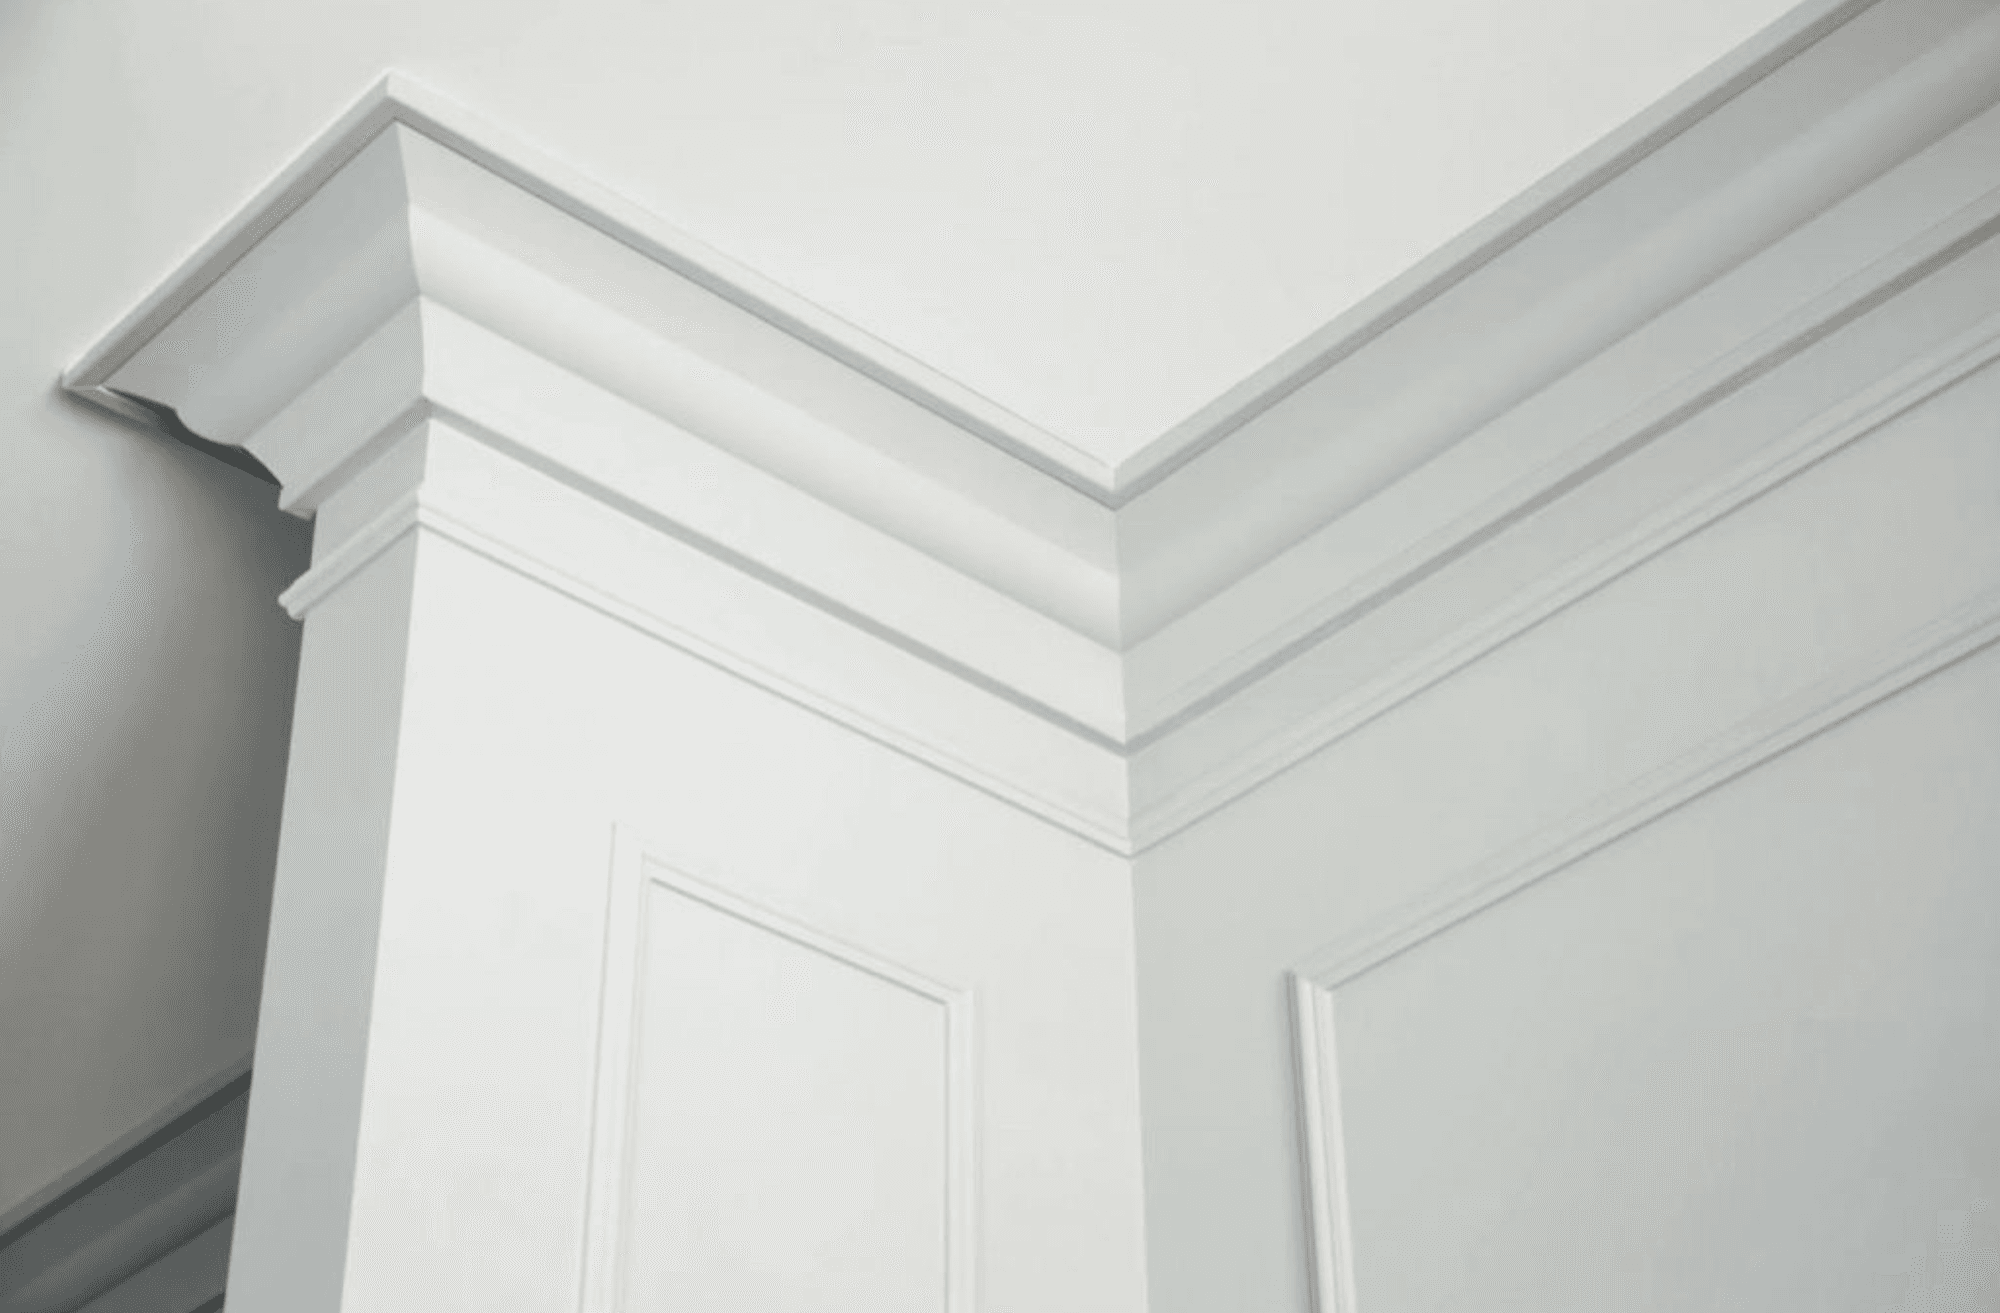
Crown molding will lift any room in your home, drawing your eyes up, making the ceiling feel higher. They also give the space balance and proportion by establishing a decorative transition between the walls and ceiling. Crown moldings offer an easy way to add a wow-factor and resale value to your home.
How is Crown Molding Installed?
It is vital to take your time and carefully follow a few simple steps to ensure the proper installation of crown molding. Installing crown molding works best with two people, especially when handling long pieces.
Required Tools and Equipment to Install Crown Molding.
Safety equipment such as goggles and earplugs
Paper and pencils
Measuring tape
Ladders
Compound miter saw
Wood glue
Angle finder
Stud finder
Nail gun & Finishing Nails
Caulk
Wood filler
Sandpaper
Painters tape
Step 1. Acclimate the Molding
Before installing molding in a room, let it acclimate to the space for 24 hours. If you install molding in a room with a lower moisture content than the molding, the molding will shrink. The reverse happens if the molding has less moisture than the room.
Step 2. Mark the Studs
Put a ladder in the corner of the room. Place painters tape horizontally 6-inches down from the ceiling to avoid drawing on the wall. This measurement may differ if using a larger crown. Using the stud finder, mark the stud’s location on the tape, and continue all around the room.
Step 3. Plan your Starting Point
Start molding installation at an inside corner of a miter. A miter forms a joint in a corner, usually at a 45-degree angle, creating a 90-degree corner.
Step 4. Getting Your Measurements
Use a tape measure to determine the length of the walls. Use an angle finder to measure the angle of the corners. Accurate measurements ensure a tight fit for the molding.
Step 5. Make Your Test Pieces
Small-test molding pieces serve as templates. Make adjustments on these first before transferring to the final piece of molding. Place one test piece in the upper corner of the wall and draw a roughly 45-degree angle across the molding. Lay a second piece on the opposite wall, and draw another roughly 45-degree angle. Use the compound miter saw to cut the two test pieces and ensure the two test pieces form a tight fit on the wall.
Step 6. Cutting Crown Molding
Transfer the marks on the test pieces to the final molding pieces. The technique for cutting crown molding varies for inside and outside angles and scarf joints.
Cutting Inside and Outside Angles
Determine the inside angle of the wall.
For 90-degree corners, divide 90 by 2 (the number of cuts needed) and set the miter saw to that number (45).
Verify the setting is correct with the test pieces.
Using the miter saw, cut one end of the molding board.
Change the miter saw to the opposite side of the 45-degree measure.
Cut the other end of the molding.
For outside corners, you simply reverse what you did to cut the inside corners.
Cutting Scarf Joints
A scarf joint connects two pieces of molding running along the length of one wall.
Cut one piece of molding at a 45-degree angle and install it on the wall.
Cut the second piece of molding on the opposite angle, lay it on top with glue, and nail it into place.
Wipe away excess glue and, once dry, sand joint until smooth
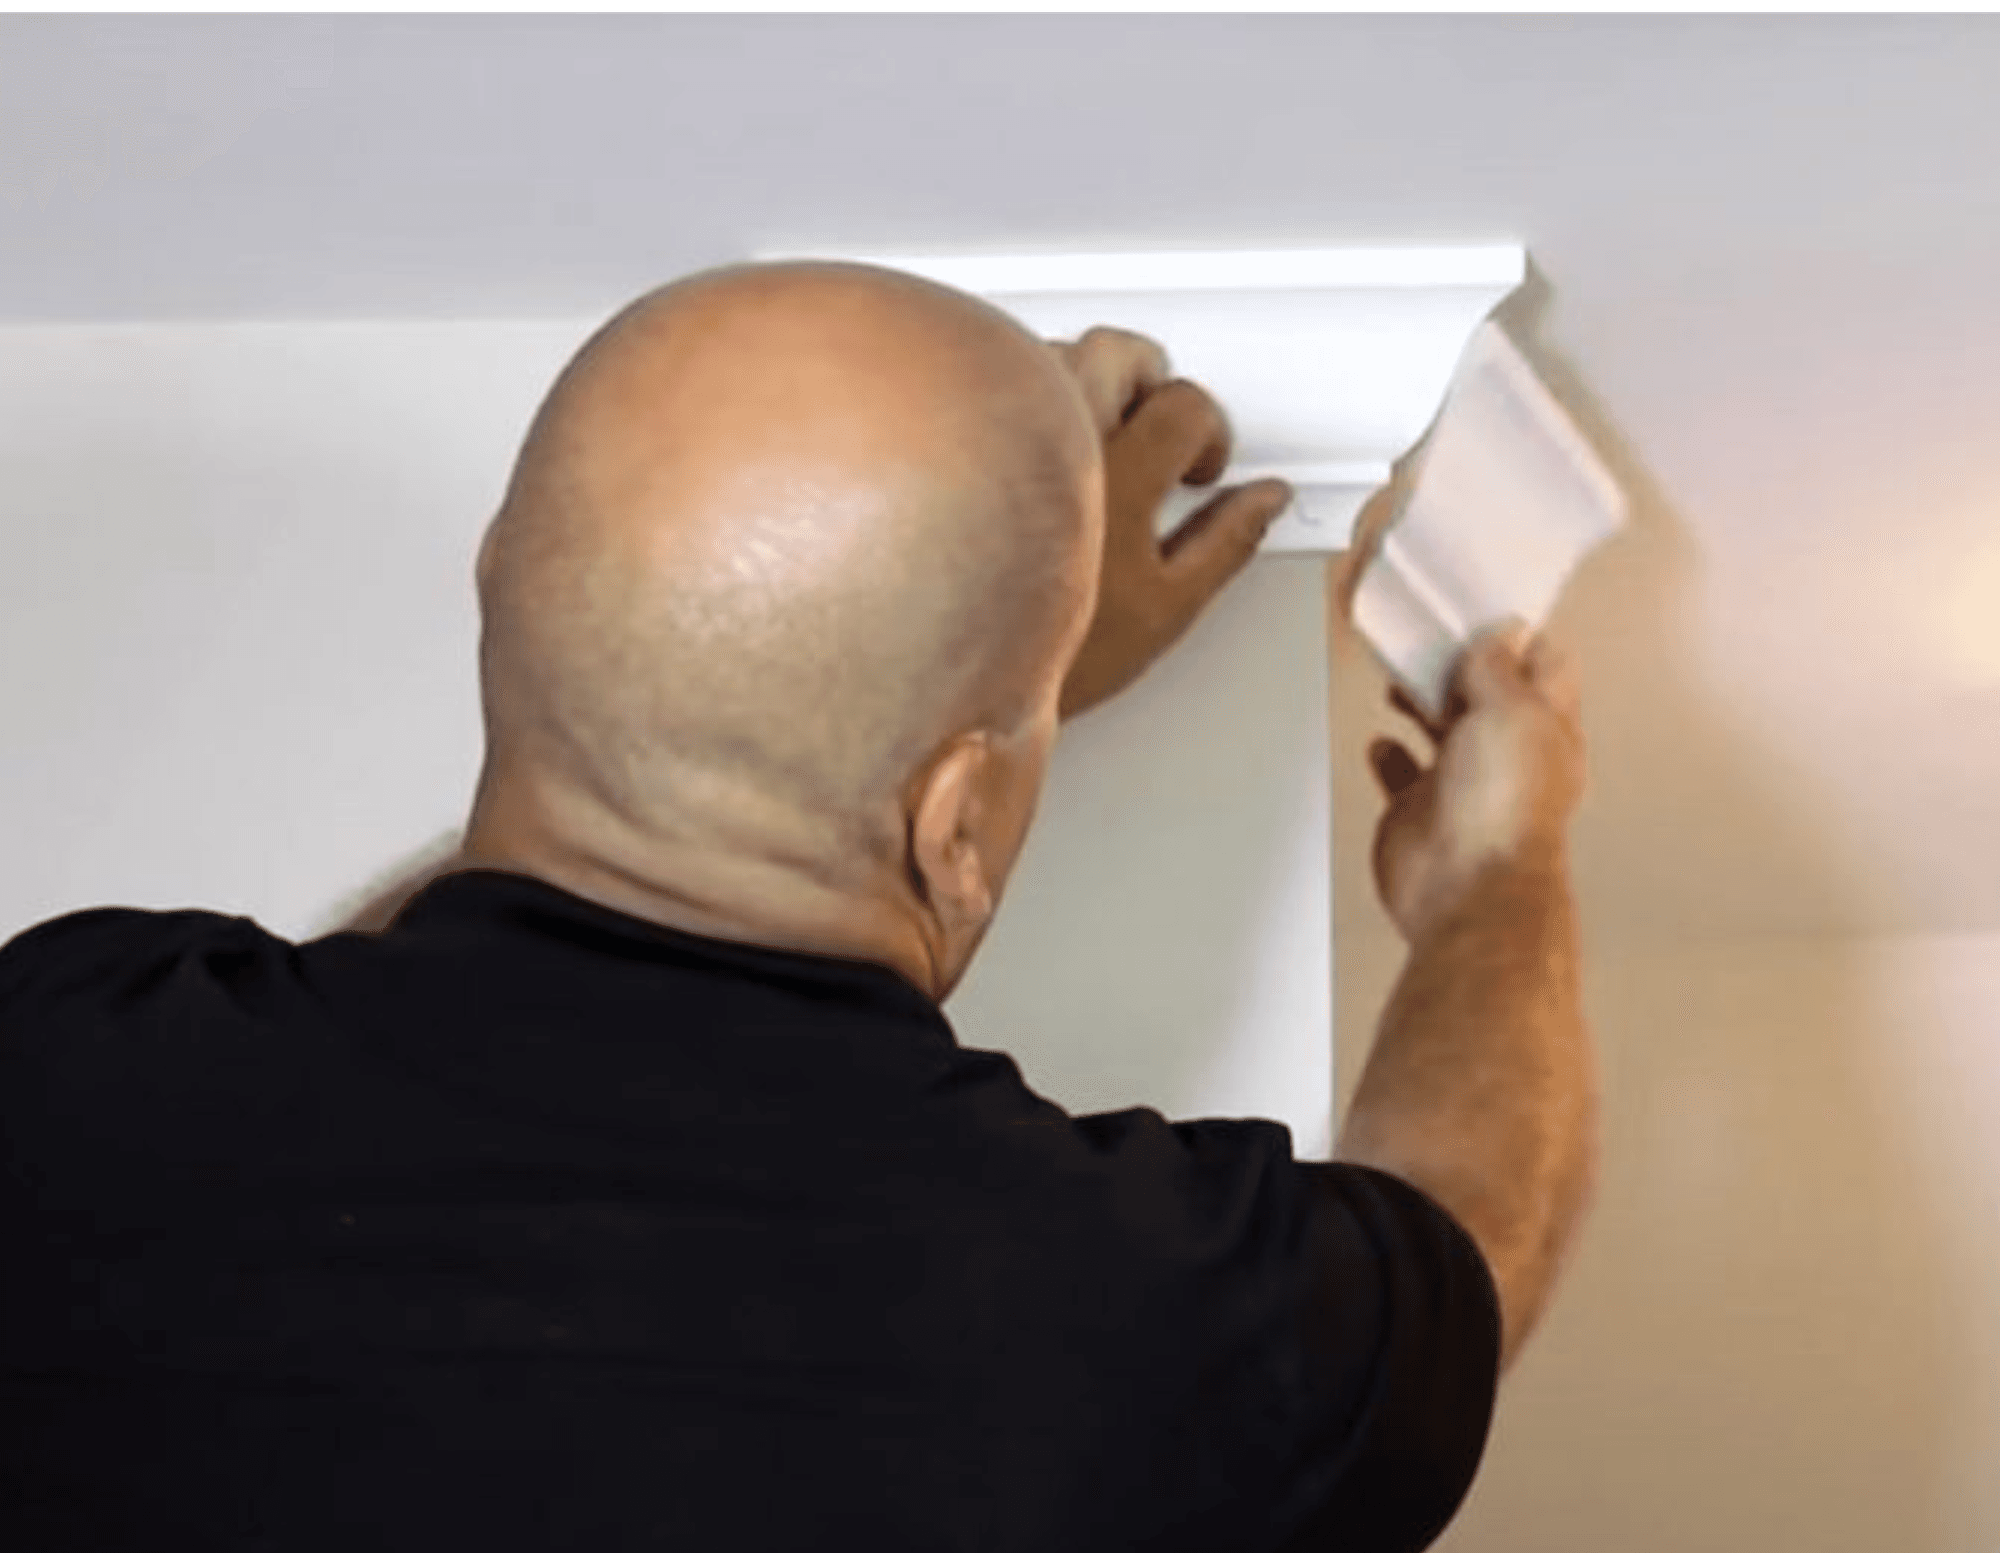
Step 7. Nailing the Molding to the Wall
Place the cut and measured crown molding tight against the wall and ceiling and begin nailing into the marked studs. If using a base for the build-up, install it upside down, then place the crown on top of the base. Repeat around the room.
Step 8. Final Finishing
Run caulking around the top and bottom of the crown molding and in the joints
Fill nail holes
Sand off the fill once it dries
Paint or stain the crown molding
Recommended Sizes Based on Ceiling Height
7' Ceilings
For 7-foot ceilings, short crowns (less than 4-inches) painted the same color as the ceiling make the ceiling seem taller. Installing crown molding that projects out onto the ceiling can give the illusion of a higher ceiling.
8' Ceilings
For rooms with 8-foot ceilings, simple, 3- to 5 and ¾-inch crown moldings works best.
9' Ceilings
Taller, 9-foot ceilings can sustain a more extensive crown molding (3-inch to 7-½-inch), plus a panel mold for added detail. You can also create a cornice by building up more massive crowns using two or more molding profiles.
10' Ceilings
Ten feet or higher ceilings require a significant crown to make a visual impact, even in smaller rooms. Crowns in casual spaces with tall ceilings require a minimum of 7-inches; however, in formal areas such as grand foyers, dining, and living rooms, install at least 9-inch crown molding or a build-up of multiple molding profiles to create the right volume for the space.
The Best Crown Molding Materials
Along with the size and style of your crown moldings, you must also decide on material type. Three standard products used to manufacture crown moldings include medium-density fiberboard (MDF), finger-jointed pine, and solid pine.
MDF
Medium-density fiberboard (MDF) crown moldings, formed from pressing a mix of wood fibers, resin, and wax together, offer homeowners an alternative to solid wood molding — an efficient choice for rooms with painted trim. Fortunately, most MDF moldings come primed and ready to paint. However, Metrie advises sanding primed moldings to ensure adequate adherence of the paint. MDF swells when exposed to moisture, so it is not suited for moisture-prone spaces. It is also slightly more susceptible to dents and nicks than solid wood.
MDF costs approximately $1 to $7 per linear foot.
Finger-Jointed Pine or Poplar
Finger-jointed pine or poplar molding includes small pieces of pine or poplar wood joined together in lines of little, interlocking fingers, creating zig-zag shapes. Finger-jointed molding eliminates knots in the wood and yields a straight board. Since it's not a solid piece of timber, finger-jointed molding doesn't warp or twist as much as solid wood.
Finger-jointed molding may have loose joints and joints that show through primer. It is important to purchase finger-jointed moldings from a reputable, high-quality manufacturer. The misalignment of joints can make it difficult to sand smooth and may show through after painting.
Finger-jointed pine crown molding costs between $3 to $10 per linear foot, and finger-jointed poplar crown molding costs about $4.25 to 11.75 per linear foot.
Solid Wood
Solid-wood molding creates an elegant choice for staining and achieving a warm, sophisticated feel to a room. However, installing solid wood molding requires skill and experience. Furthermore, pine-wood molding does not hide joints and, depending on the air’s moisture content, may expand during warm days, contracting as it cools.
Solid wood costs between $1 to $6 per linear foot, while exotic wood costs $10 to $45 per linear foot, depending on its width and design.
Why Crown Molding is A Good Investment
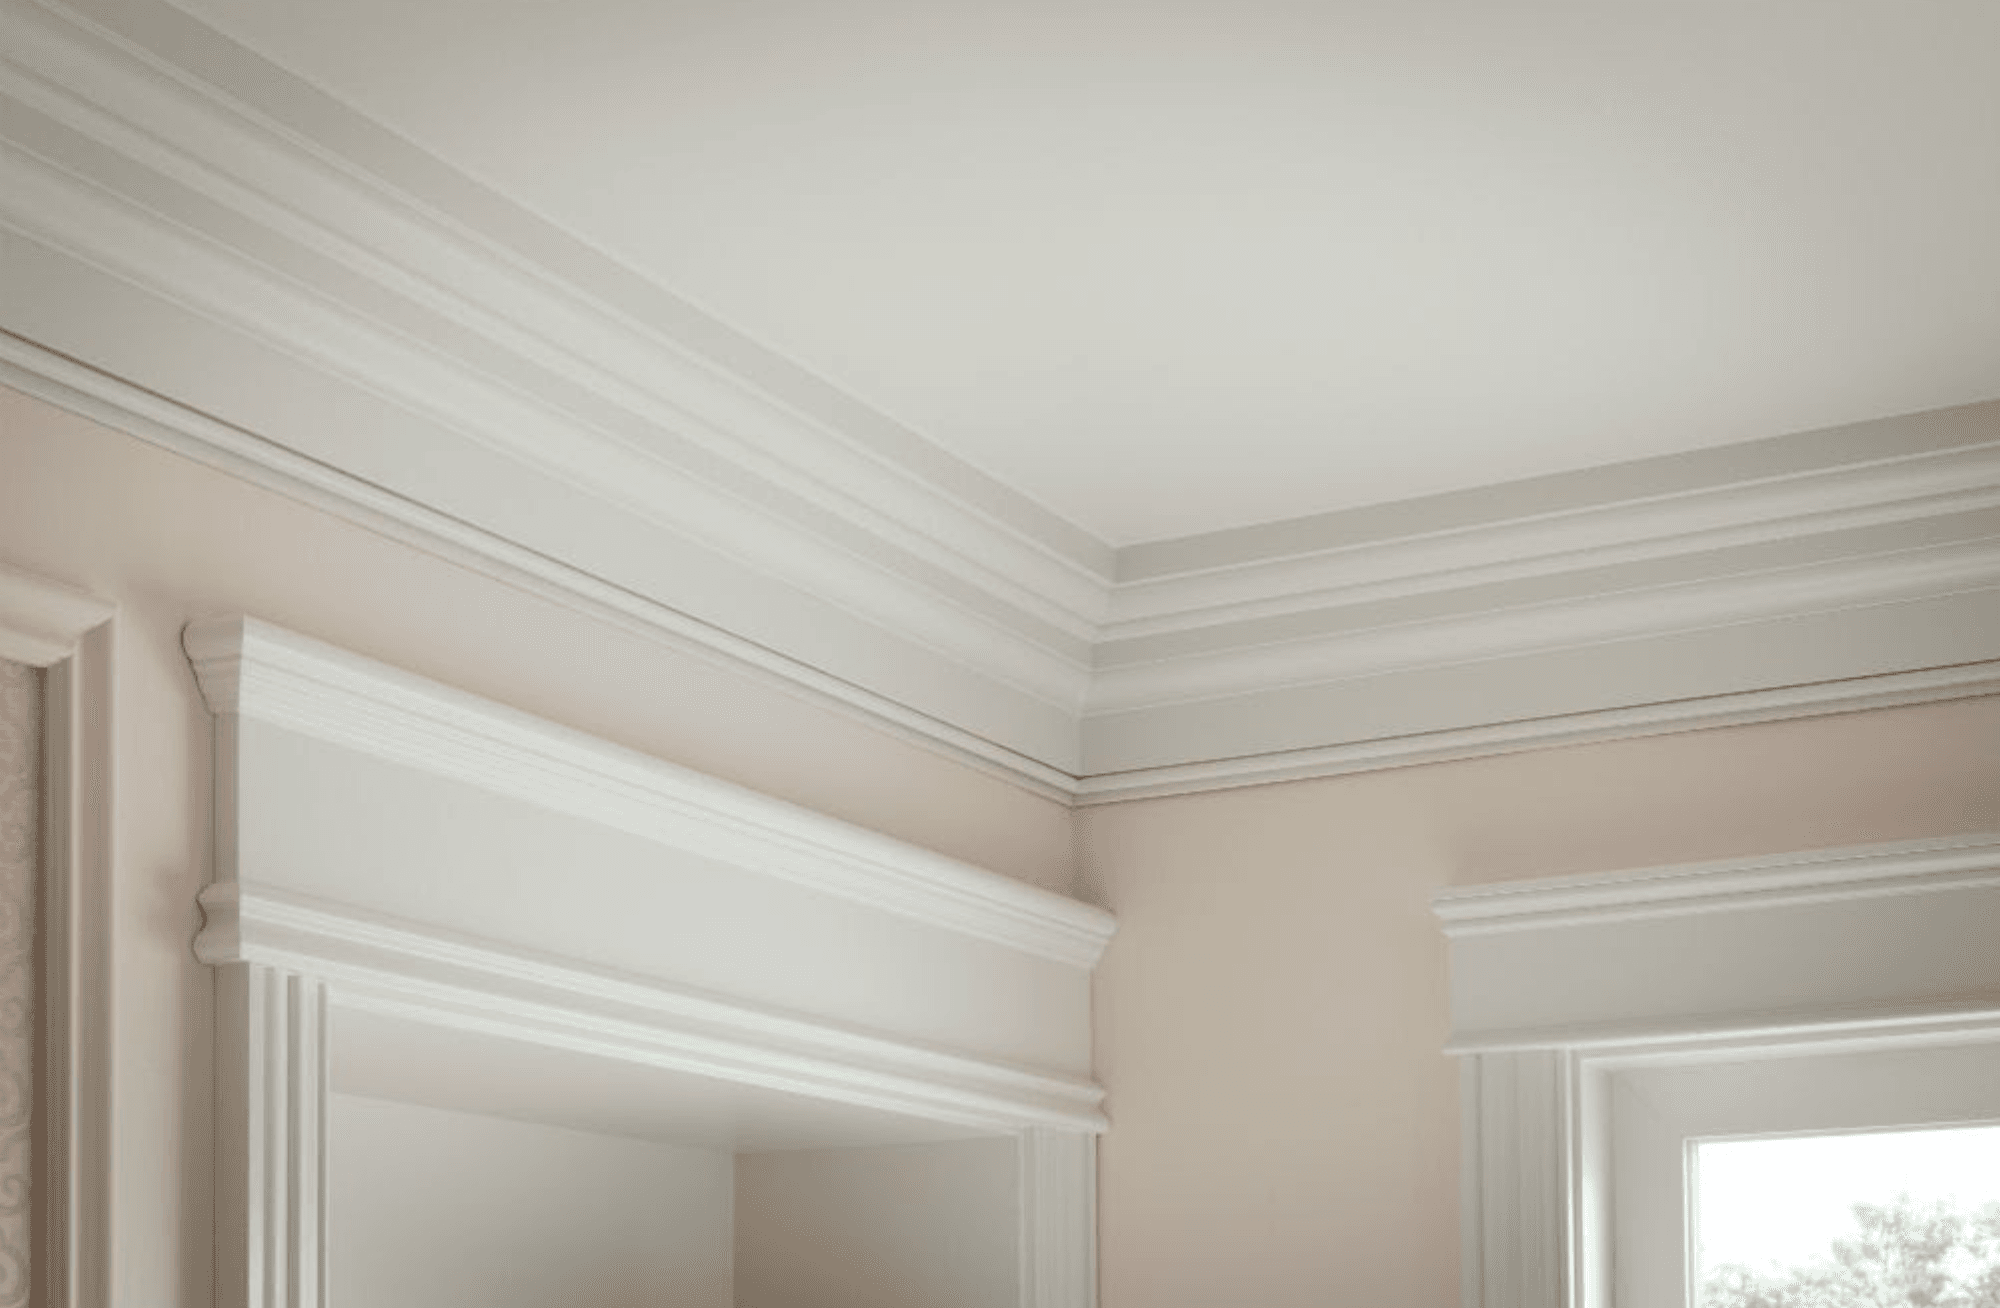
Installing crown molding in your home gives it a high-end feel, with exciting depth and character — not only increasing your property's value but making it easier to attract buyers when the time comes to sell. At Metrie, we asked experts in both the real estate and construction industries to rate the best upgrade projects for getting top dollar on your home's sale price. They ranked crown molding at the top for the highest return on investment compared to other common remodel updates.
How Metrie Can Help You Choose the Right Crown Molding
Metrie(R), a leading manufacturer and distributor of interior finishings with locations across North America, makes it easy for you to choose, purchase, and achieve your design goals for your home. Metrie crown moldings include various styles and materials to accommodate every home's unique taste and design styles.
For more information on how crown moldings can add personality, texture, and value to your home, please contact our professionals at one of our many Metrie dealer showrooms.