Chevron Accent Wall
April 5, 2023
By: The Finished Space
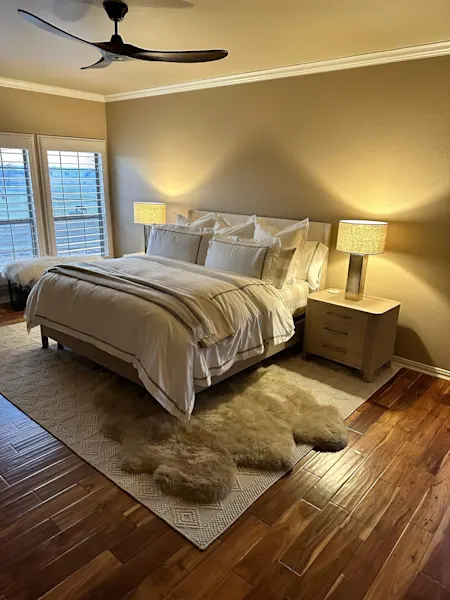
Accent Walls, like this Chevron design, are DIY friendly as all you need are some S4S MDF boards cut to different sizes!
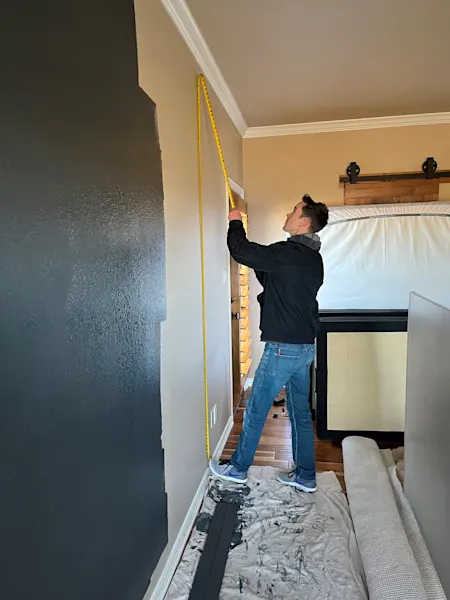
Step 1: Planning and Measuring your wall.
Start by planning you design and measuring out your wall. This will help you determine how many boards are needed. Next you will want to go to your nearest Lowes or local dealer and pick up the Metrie S4S boards. We used the 8 ft boards for this particular project. The great thing about these boards is they are already primed which allows you to skip the sanding step! Another great feature about pre-primed is it makes the paint appear brighter and requires less coats of paint since they are already primed a bright white.
Just starting out? It is recommended to use a pencil and drawing where the boards will go, just be prepared to shift things around if you need too.
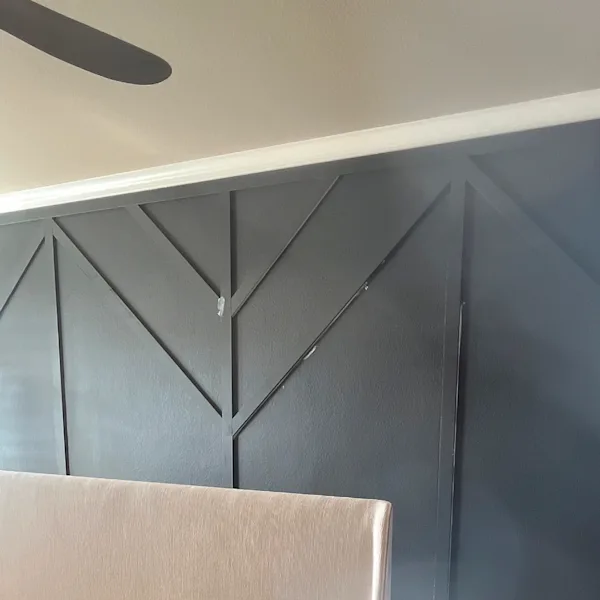
When determining how many boards you need, follow this general layout. You will have 3-5 boards going straight up the wall. This is the straight line you will build your chevron boards on. You will need two boards cut on diagonal on the top middle and bottom creating 3 Chevron shapes for each section. The number of boards you decide on depends on the size of your wall. The wall pictured is 17 ft wide and has 4 up and down straight-line boards. Next you will need the diagonal cuts, there will be one on top, middle and bottom connecting to the straight board. You will then mirror with more diagonal boards on the other side of the straight board.
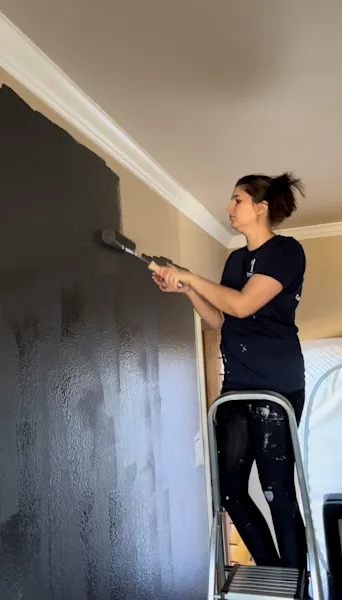
Step 2: Paint the wall and the boards!
Now that you have determined how many boards you need its time to paint! It is often best to paint the wall first, before adding on your S4S boards. It’s important to paint the whole wall and then while you’re letting the first coat of paint dry, go paint the boards! By doing this you save some time in the painting process when you go to install the boards on the wall.
To paint the boards, you will want to put a tarp down and then lay the boards flat. Roll the tops and the sides of each board at least two times. A little hack here is to lay 4 boards next to each other and use a large paint roller, you can roll all four of the boards at one time this way! Once your boards have dried go apply one more coat of paint to the wall.
Step 3: Make your border.
It is recommended to measure the top, bottom and sides of the wall and create a frame around it. You will create this border and then build your design within it.
Step 4: Start building your wall
If your wall is 8 ft tall you will be good with just measuring out the wall evenly and placing the vertical boards so that 4-5 are spaced evenly across the wall. If your wall is taller however, you will need to cut boards to attach and finish off that length. Start by cutting the straight vertical boards. You will use a 10-inch compound miter saw to cut the boards. Make sure to wear safety glasses and equipment when handling your saw with care.
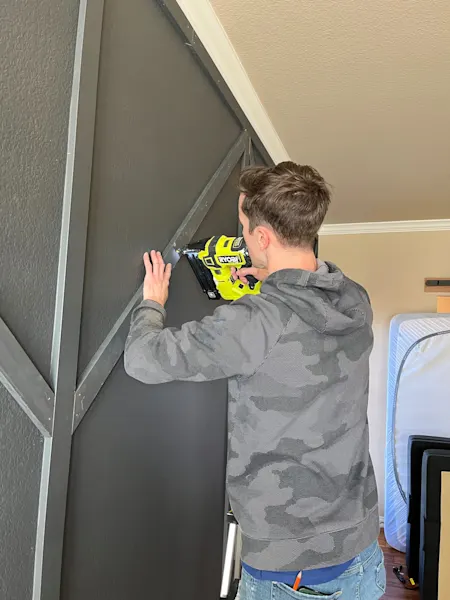
Step 5: Time to nail it
Grab your nail gun and load with 18-gauge 1.5 inch nails. Then you will want to grab your level, you might want to have a second hand so someone can hold the board while you make sure it is level on the wall. Once you have determined it is level, put two nails in the top of the board. Go down about two feet and put two more nails in the board, continue this till you have reached the bottom of the board. Give the board a nice tug to make sure it is secure. Repeat this process for all 4-5 of the vertical boards.
Step 6: Cut smaller pieces for the chevron pattern
Cutting the diagonal boards is a little trickier but once you get the first one you can duplicate the other two below it. Then you will mirror the design unto the other side. Once all the boards are up and secured using the same nailing process, it is time to caulk.
You can use your finger to apply the caulking into the cracks and creases. To clean everything up, you can either take a Lysol wipe or wet a thick paper towel and rub it down, so you don't see any chunky caulking and when you apply the paint it to be smooth. If it is still coming up thick you will need to use a hand sander and sand the chunky pieces of caulking so its smooth.
Step 7: Paint the Caulking.
You will then take your paintbrush and paint over all the caulking. You should have caulked where all the boards are touching the wall, as well as filled in the nail holes with wood filler on each board. Keep painting until the boards look like they are one with the wall and the nail holes are covered.
Step 8: Step back and look at what you created!
Congratulations you made it through your first accent wall. Sit back and enjoy!
Thank you Courtney @livelyluxurydesigns for sharing!