How to Install Chair Rail: A Step-by-Step Guide
October 2, 2023
By: The Finished Space
Have you ever looked at those polished homes in magazines and wondered how you can replicate that chic and modern style? Well, it might be simpler than you think, and it all starts with learning about the different elements that designers use and how to use them in your own home.
Today, we’re going to talk about the benefits of chair rail. This step-by-step guide will walk you through the process of adding this elegant touch to your space.
What is a Chair Rail?
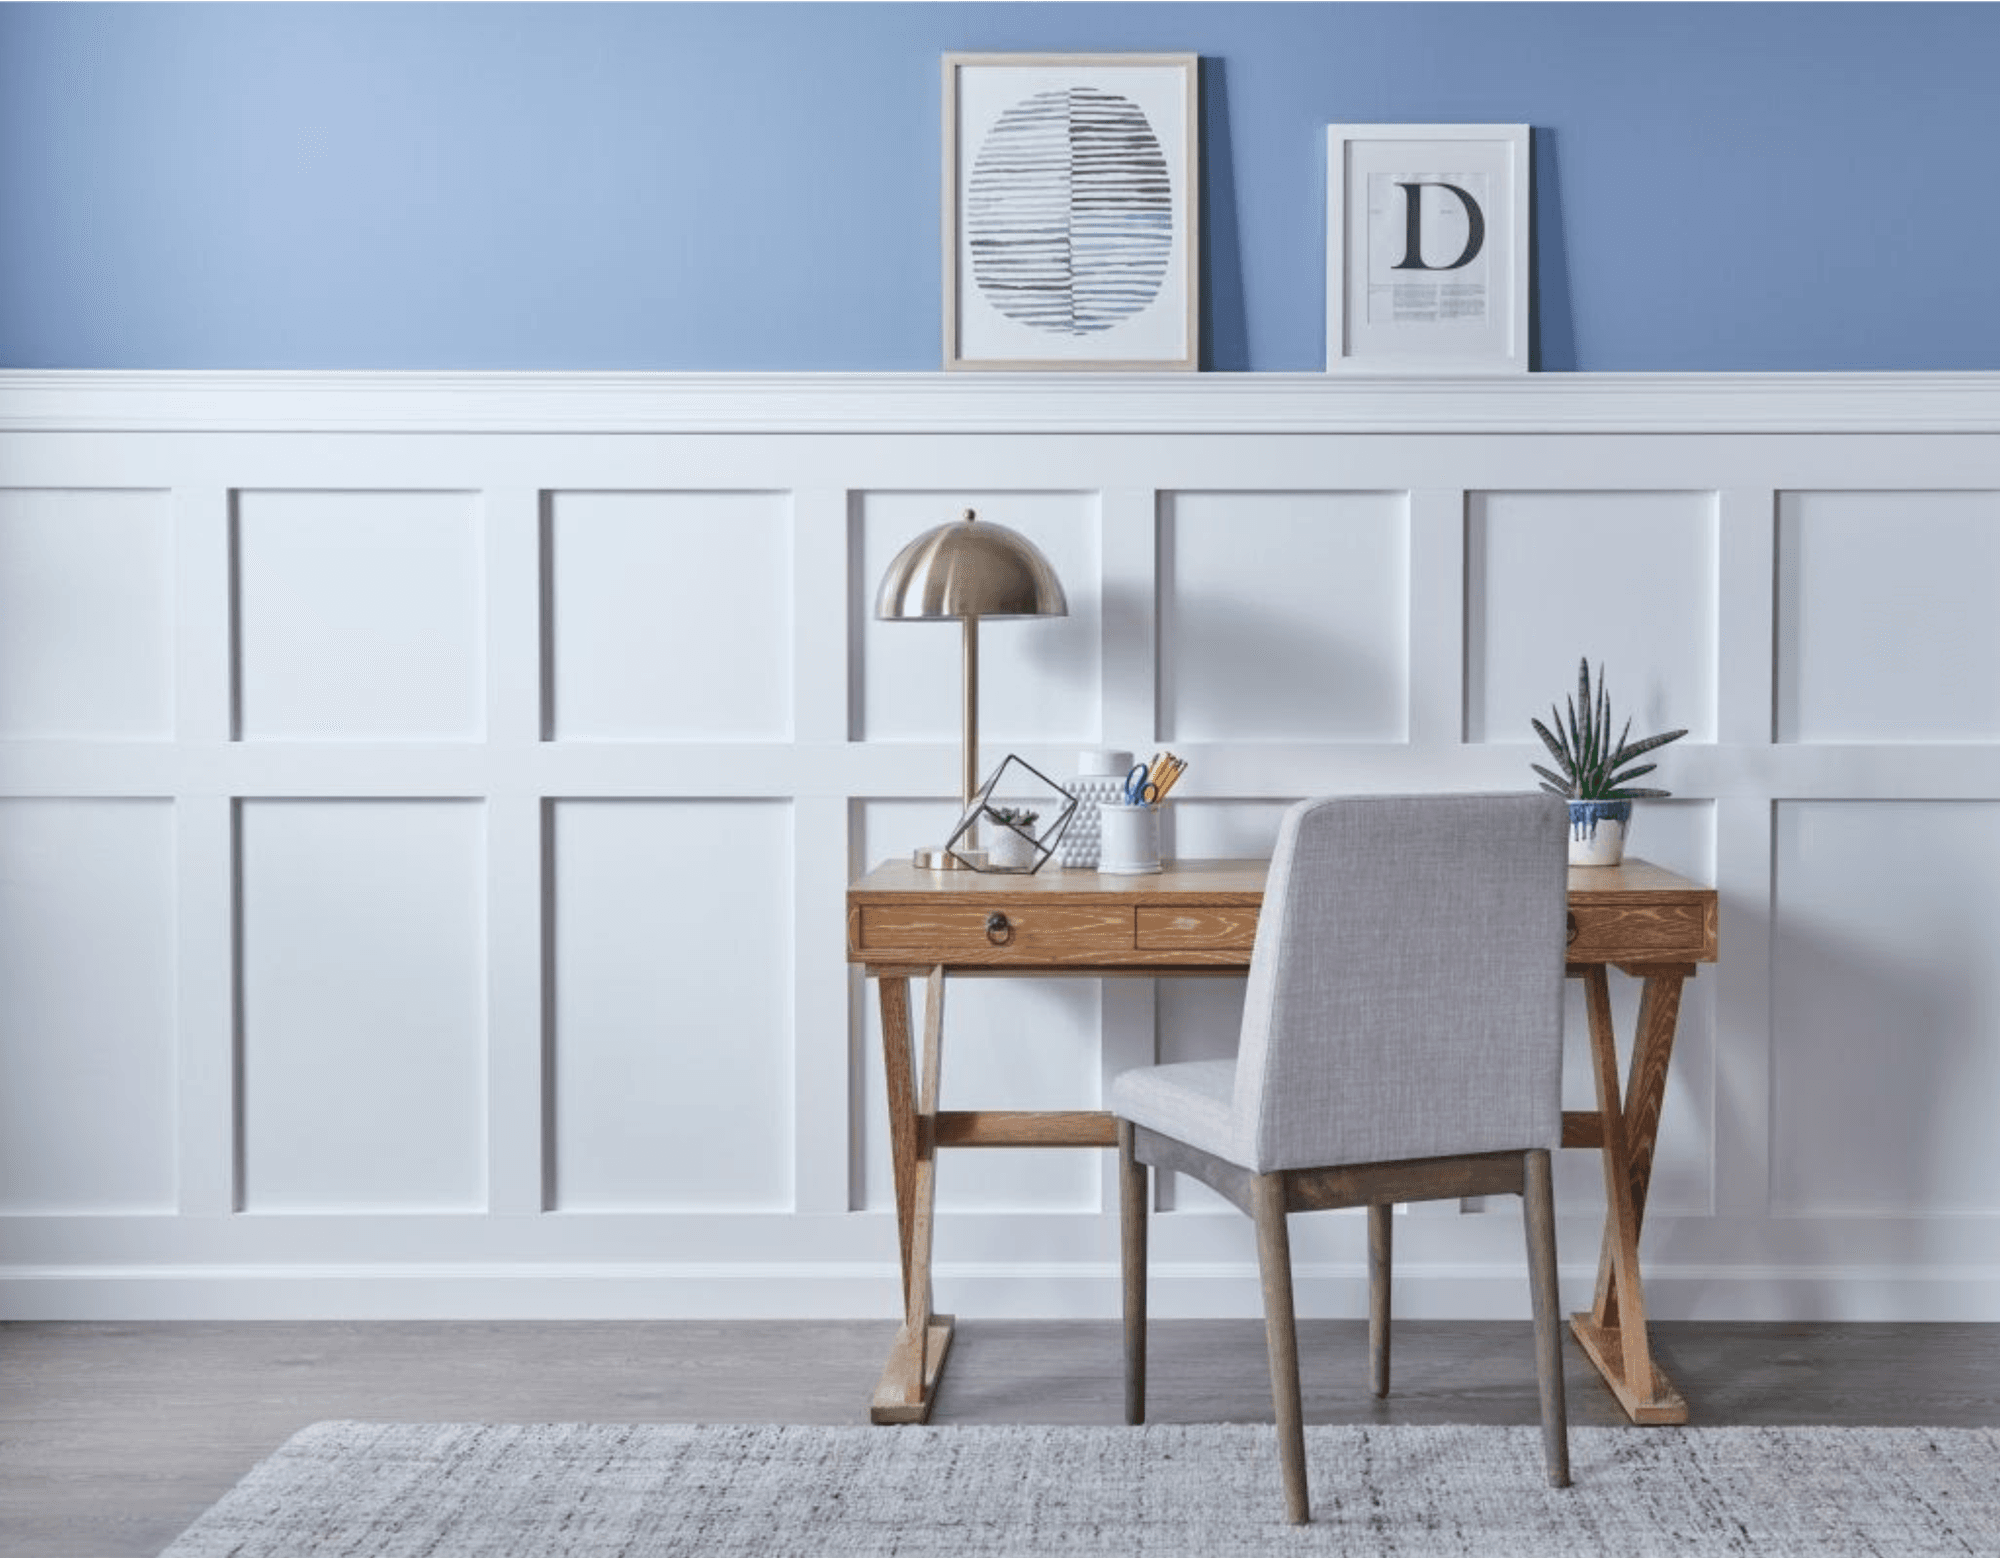
Before we get into how to install chair rail, let’s take a moment to discuss what a chair rail is. A chair rail is a design element that serves two purposes: it’s a design statement and a practical solution that safeguards your walls from everyday wear and tear.
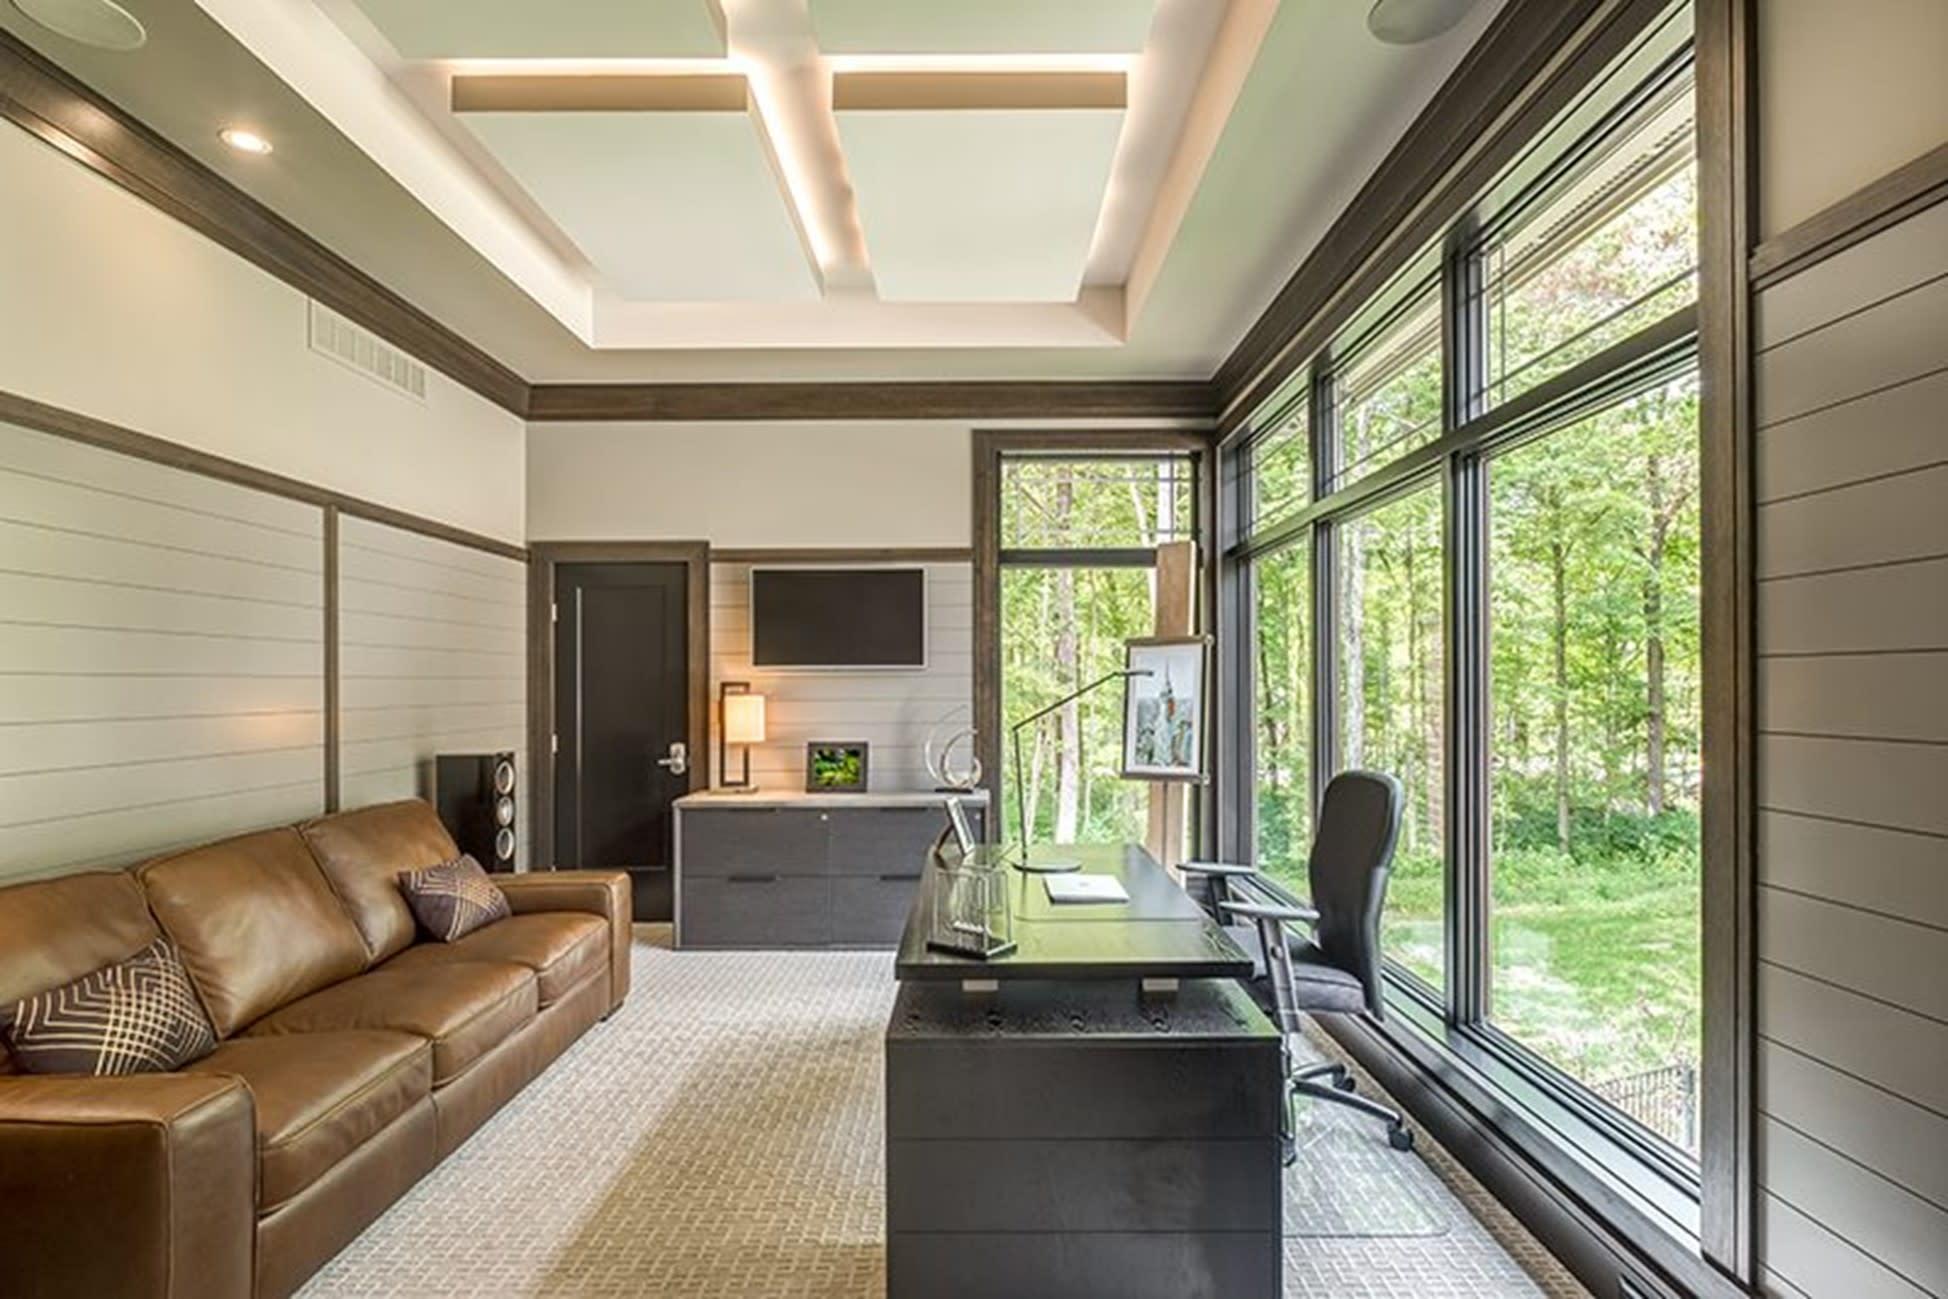
Traditionally set at the height of a chair back, chair rails prevent dings and scratches while moving furniture (like chairs), and they create a defined separation in your wall that also allows you to play with décor and paint. In the hands of a skilled and thoughtful designer, it’s a tool that can bring rhythm to a room’s interior design aesthetic.
The Benefits of Installing Chair Rail in Your Home
That being said, chair rails aren’t just for show. Beyond the everyday protection, there are also a few practical benefits for installing a chair rail in your home, including:
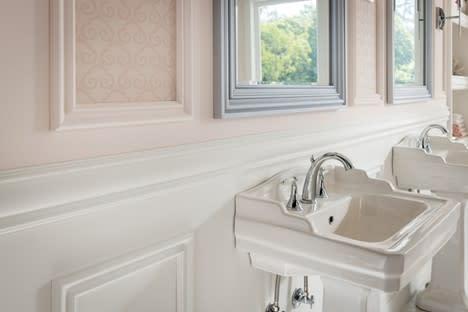
Aesthetic Appeal
Chair rails serve as a visual anchor in a room which creates a finished look that can tie together all the elements of your decor. They also give you ample opportunity to play with your design, including adding décor, trim, moulding, and color blocking.
Wall Protection
Chair rails act as a buffer that keeps your walls looking sharp. No more dents and scratches from furniture.
Increased Home Value
Installing chair rails can be a strategic move, as they often lead to a higher resale value by adding a custom, crafted look.
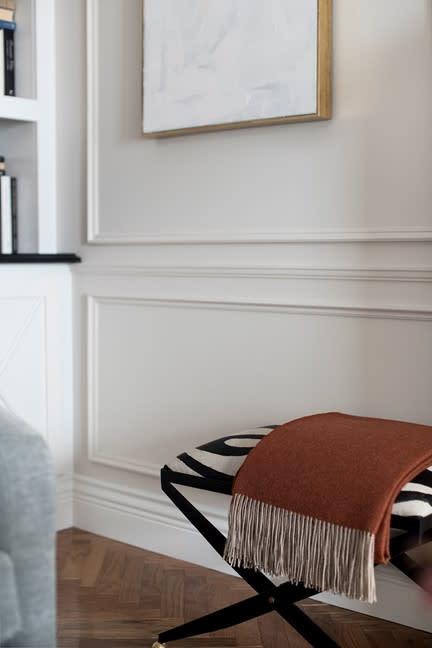
Design Versatility
Whether you lean towards the minimalistic or something more ornate, chair rails can greatly enhance your design aesthetic.
Visual Interest
They can also create a sense of height or be used to add color contrast, for a more dynamic interior design.
A Step-by-Step Guide for Installing Chair Rail
Are you ready to transform your walls with chair rail? This step-by-step guide is your trusty companion in navigating the process, that can help ensure that every cut, every nail, and every finish is executed with the precision of an expert. Here’s everything you need to know about installing chair rail in your home:
Step One: Choose Your Trim and Moulding
Your journey begins with selection. With Metrie’s extensive catalog at your fingertips, you should be able to find the perfect match to express your home’s unique voice and your personal style.
Step Two: Choose the Height of Your Chair Rail
Not too high, not too low. Chair rail height can affect the perception of your space, so choose the height wisely. Remember, it’s not just about protection; it’s about aesthetics, too. Choose a chair rail height that enhances your design.
Step Three: Measure and Cut Your Chair Rail
Careful measurement is the foundation of a great installation. Make sure you account for the full length of the walls and any extra dynamics in your space.
Step Four: Paint, Wallpaper, or Panel the Wall Before Installing the Chair Rail
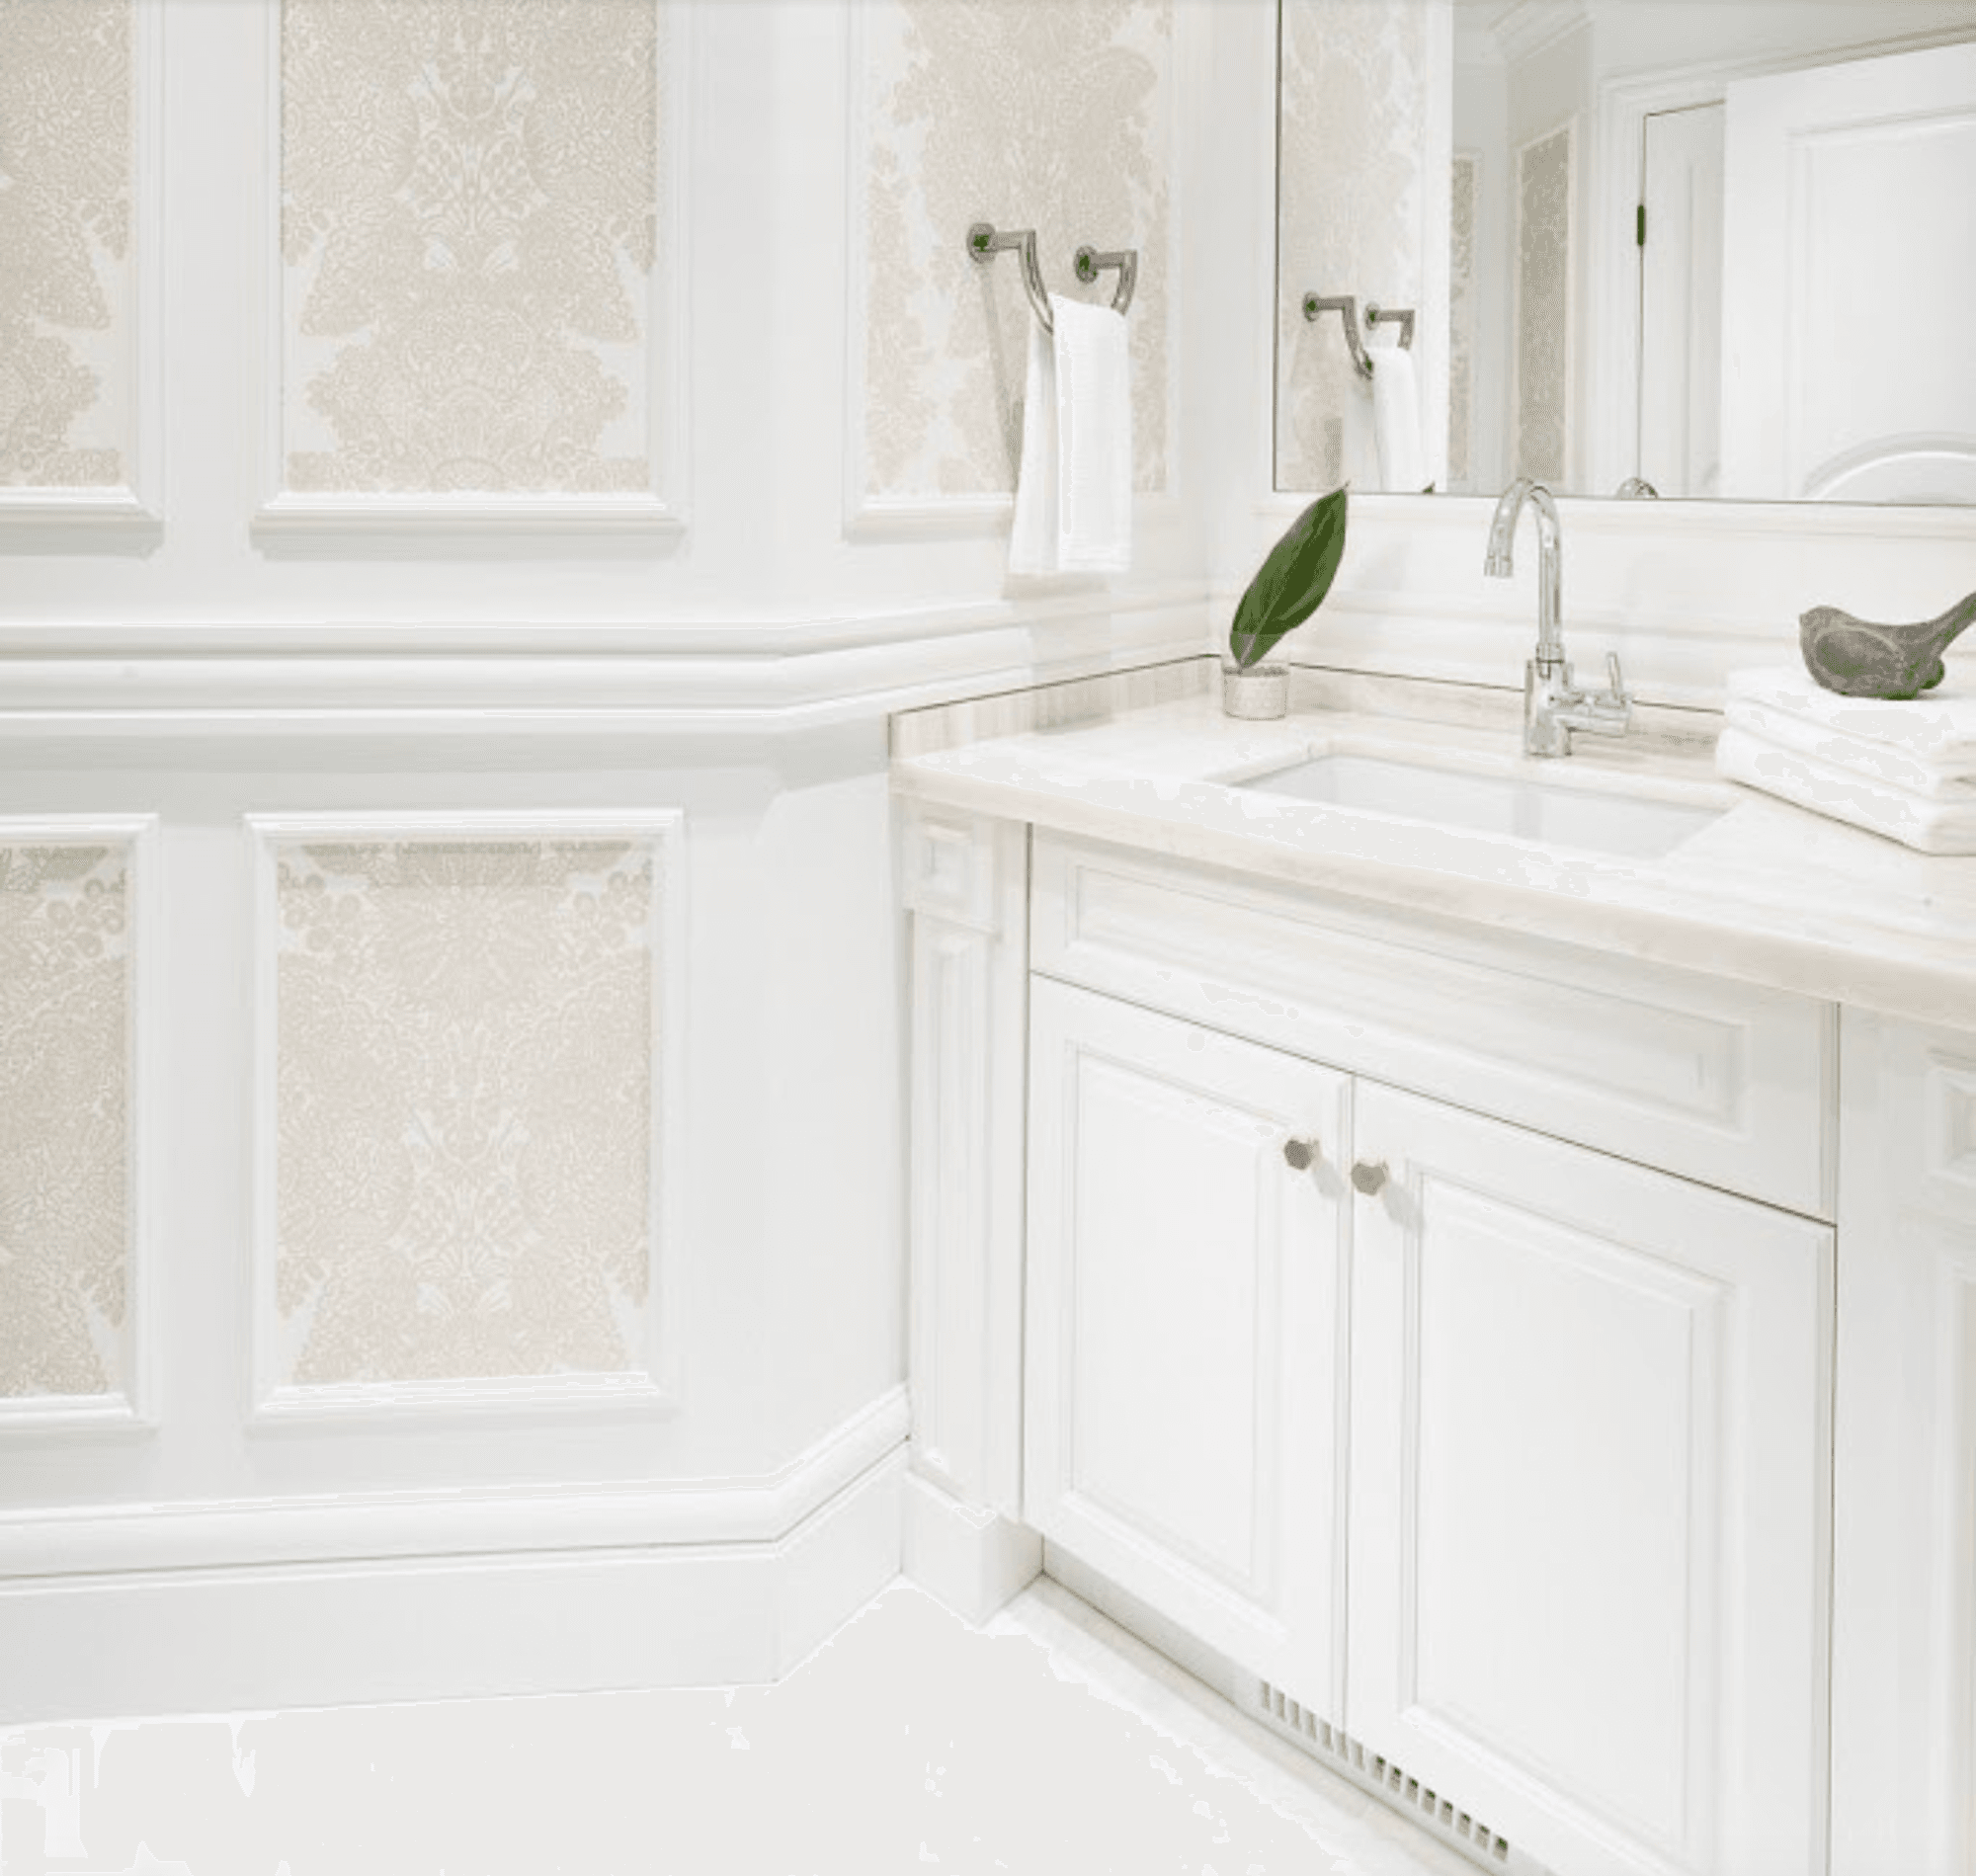
Preparation is the secret to a seamless look. If you plan on doing something to make each section of your wall look unique and stylish, we recommend doing it before you install the chair rail. By completing your wall treatments first, you can help to ensure a clean, professional finish.
Step Five: Locate the Studs in Your Wall
If you want a solid installation, you must find the bones in your wall. This is where you’ll nail the chair railing to provide the perfect anchor for your trim and moulding. We highly recommend using a stud finder for this step.
Step Six: Measure from the Floor to the Chair Rail
Uniformity will define the success of your installation. Once you have the measurement from the floor to the chair rail, make sure you measure both ends of your trim before you install it. We highly recommend using a laser level.
Step Seven: Install the Chair Rail
With each nail and hammer or nail gun, it’s time to install your chair rail. Remember to take your time to make sure that each section is perfectly aligned.
Step Eight: Cover the Exposed Nails with Putty
Next, fill in all the nail holes with putty to make sure there are no visible holes in your chair rail. Once you have them filled with putty, it’s time to move into the final touches!
Step Nine: Final Touches!
The devil is in the details, and the final touches are where you perfect them. A bit of touch-up paint or caulk can make all the difference that turns your simple DIY project into a professional installation.
Elevate Your Home with Chair Rail Trim and Moulding from Metrie
Credit: https://buildgawhite.com/
Transforming your space is an exciting journey, and adding a chair rail is a significant first step. With Metrie’s beautiful selection of trim and moulding, your home will not only reflect your taste, but will also stand out with timeless elegance. Contact us today to get started!