Mastering the Details: How to Finish Shiplap Edges with Precision
June 19, 2023
By: The Finished Space
If you’re installing it yourself, you’ll want to know how to give it that polished, final look. We’re here to show you with this in-depth guide to shiplap.
What is Shiplap?
Shiplap is a type of wooden board traditionally used for constructing the exterior walls of buildings, but it’s not just your run-of-the-mill wooden plank. It has a super unique aspect called a rabbet joint, which creates a distinctive overlap that results in a tight seal against wind and weather.
These days, shiplap has evolved from its outdoor roots to become a staple in home interiors. It’s known for adding texture and visual interest to any space while also maintaining the water resistance and durability that make it optimal for exterior siding.
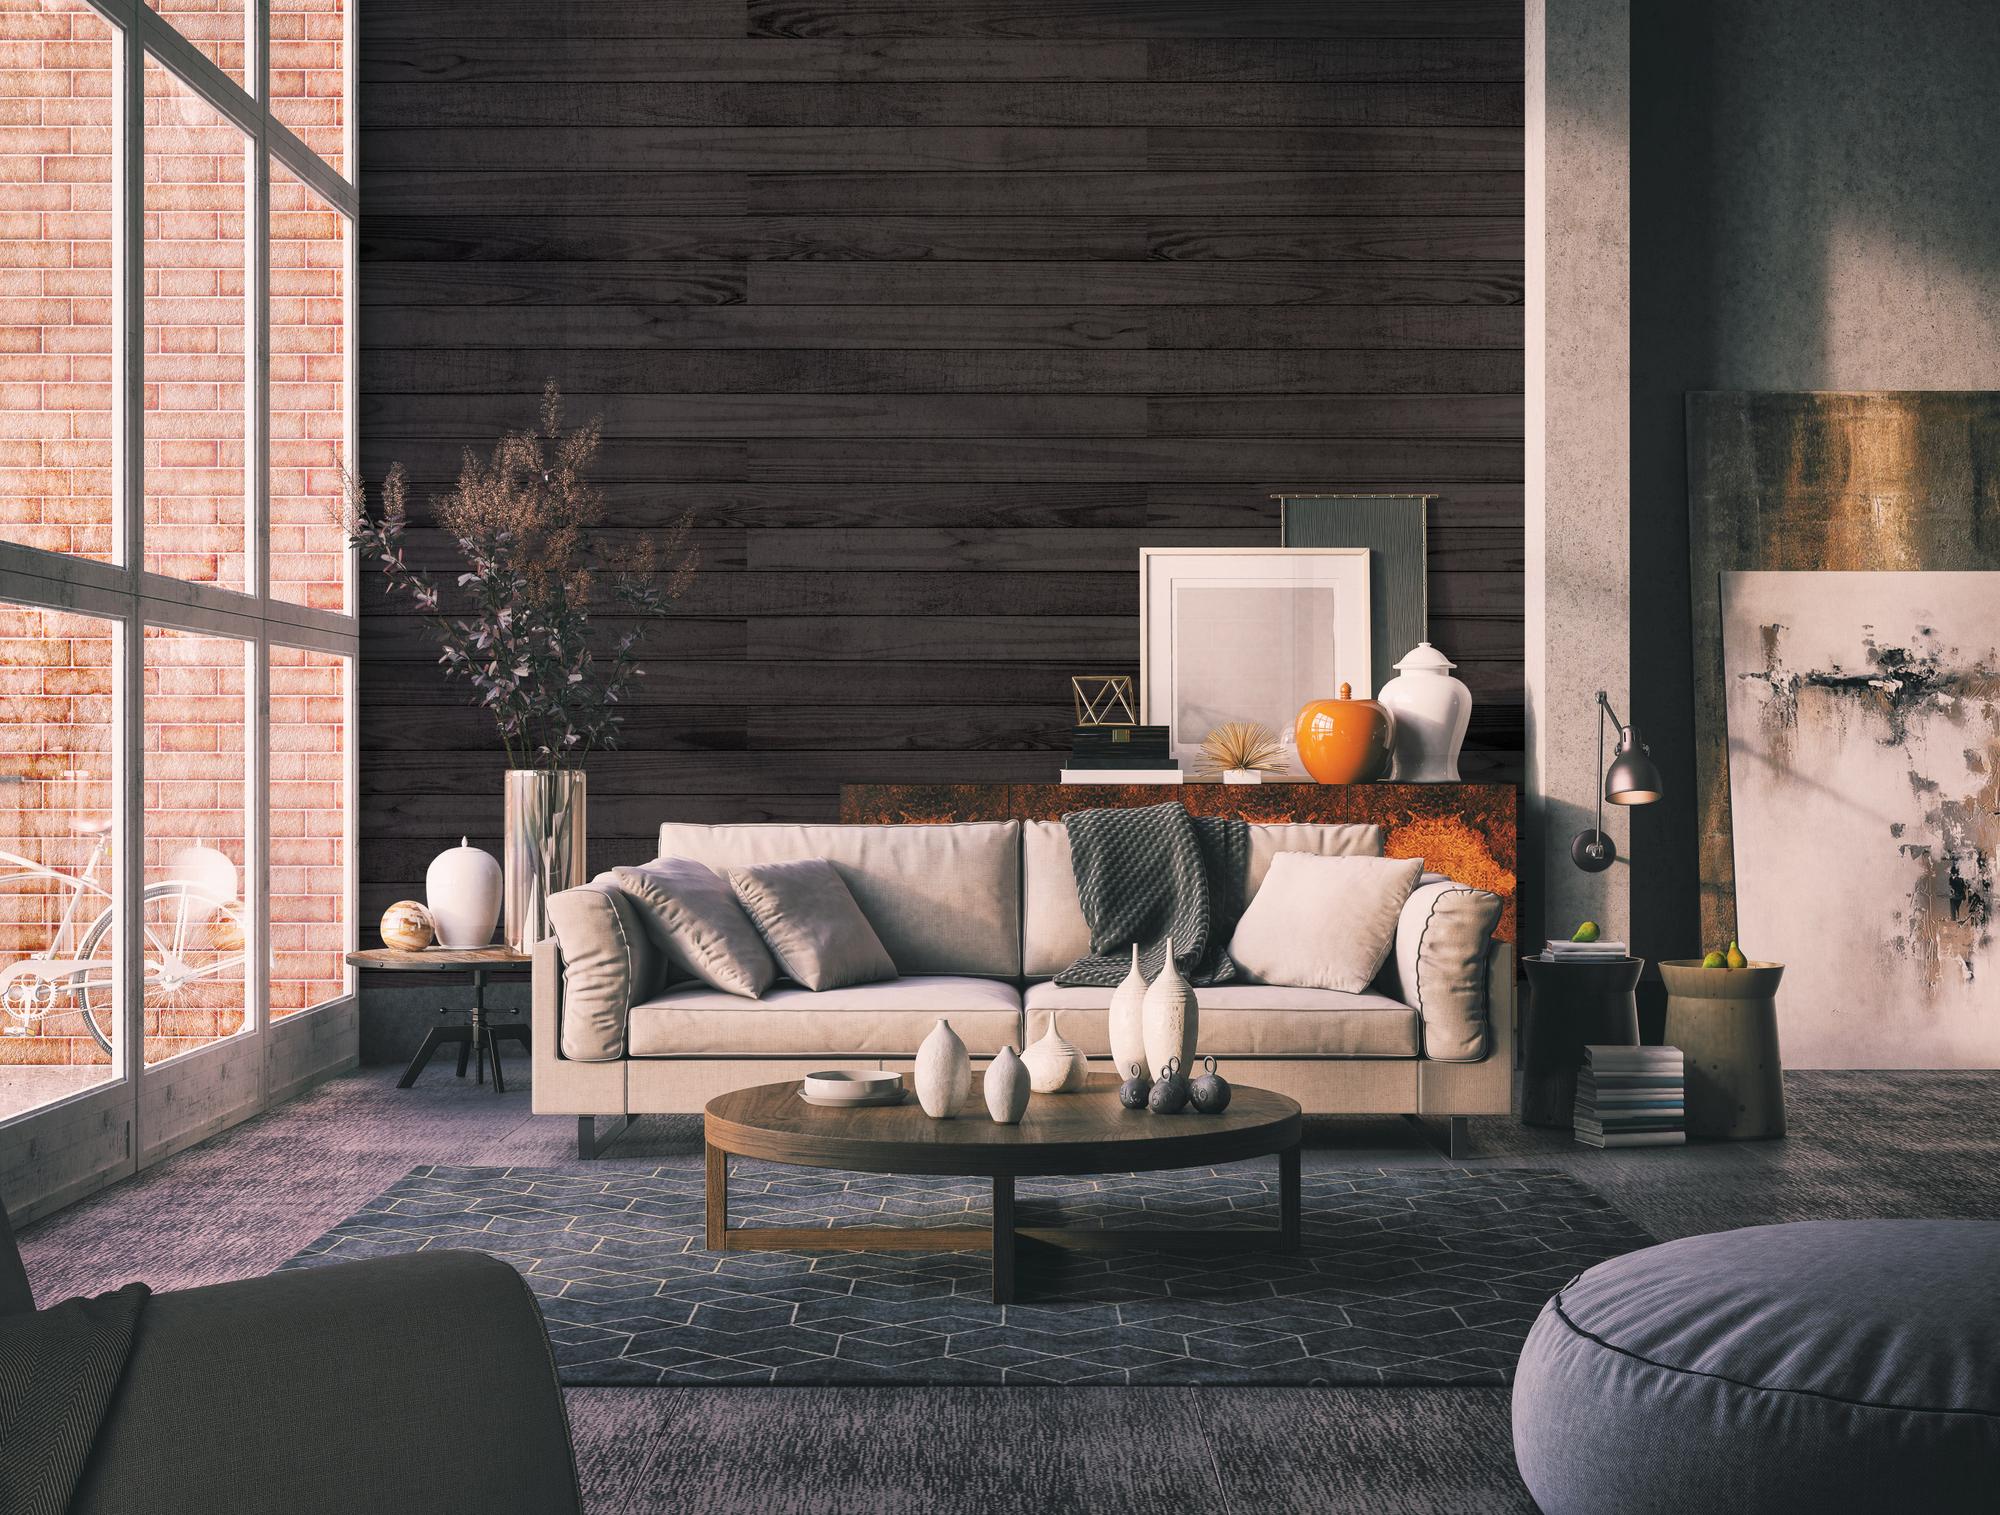
Beyond its rustic roots, shiplap has become a versatile design element that can complement any style.
Areas in the Home to Install Shiplap
Shiplap has the extraordinary ability to elevate the aesthetic appeal of just about any space in your home. Its adaptable nature means that you can install it in various areas to make each room feel more unique and cozy, including:
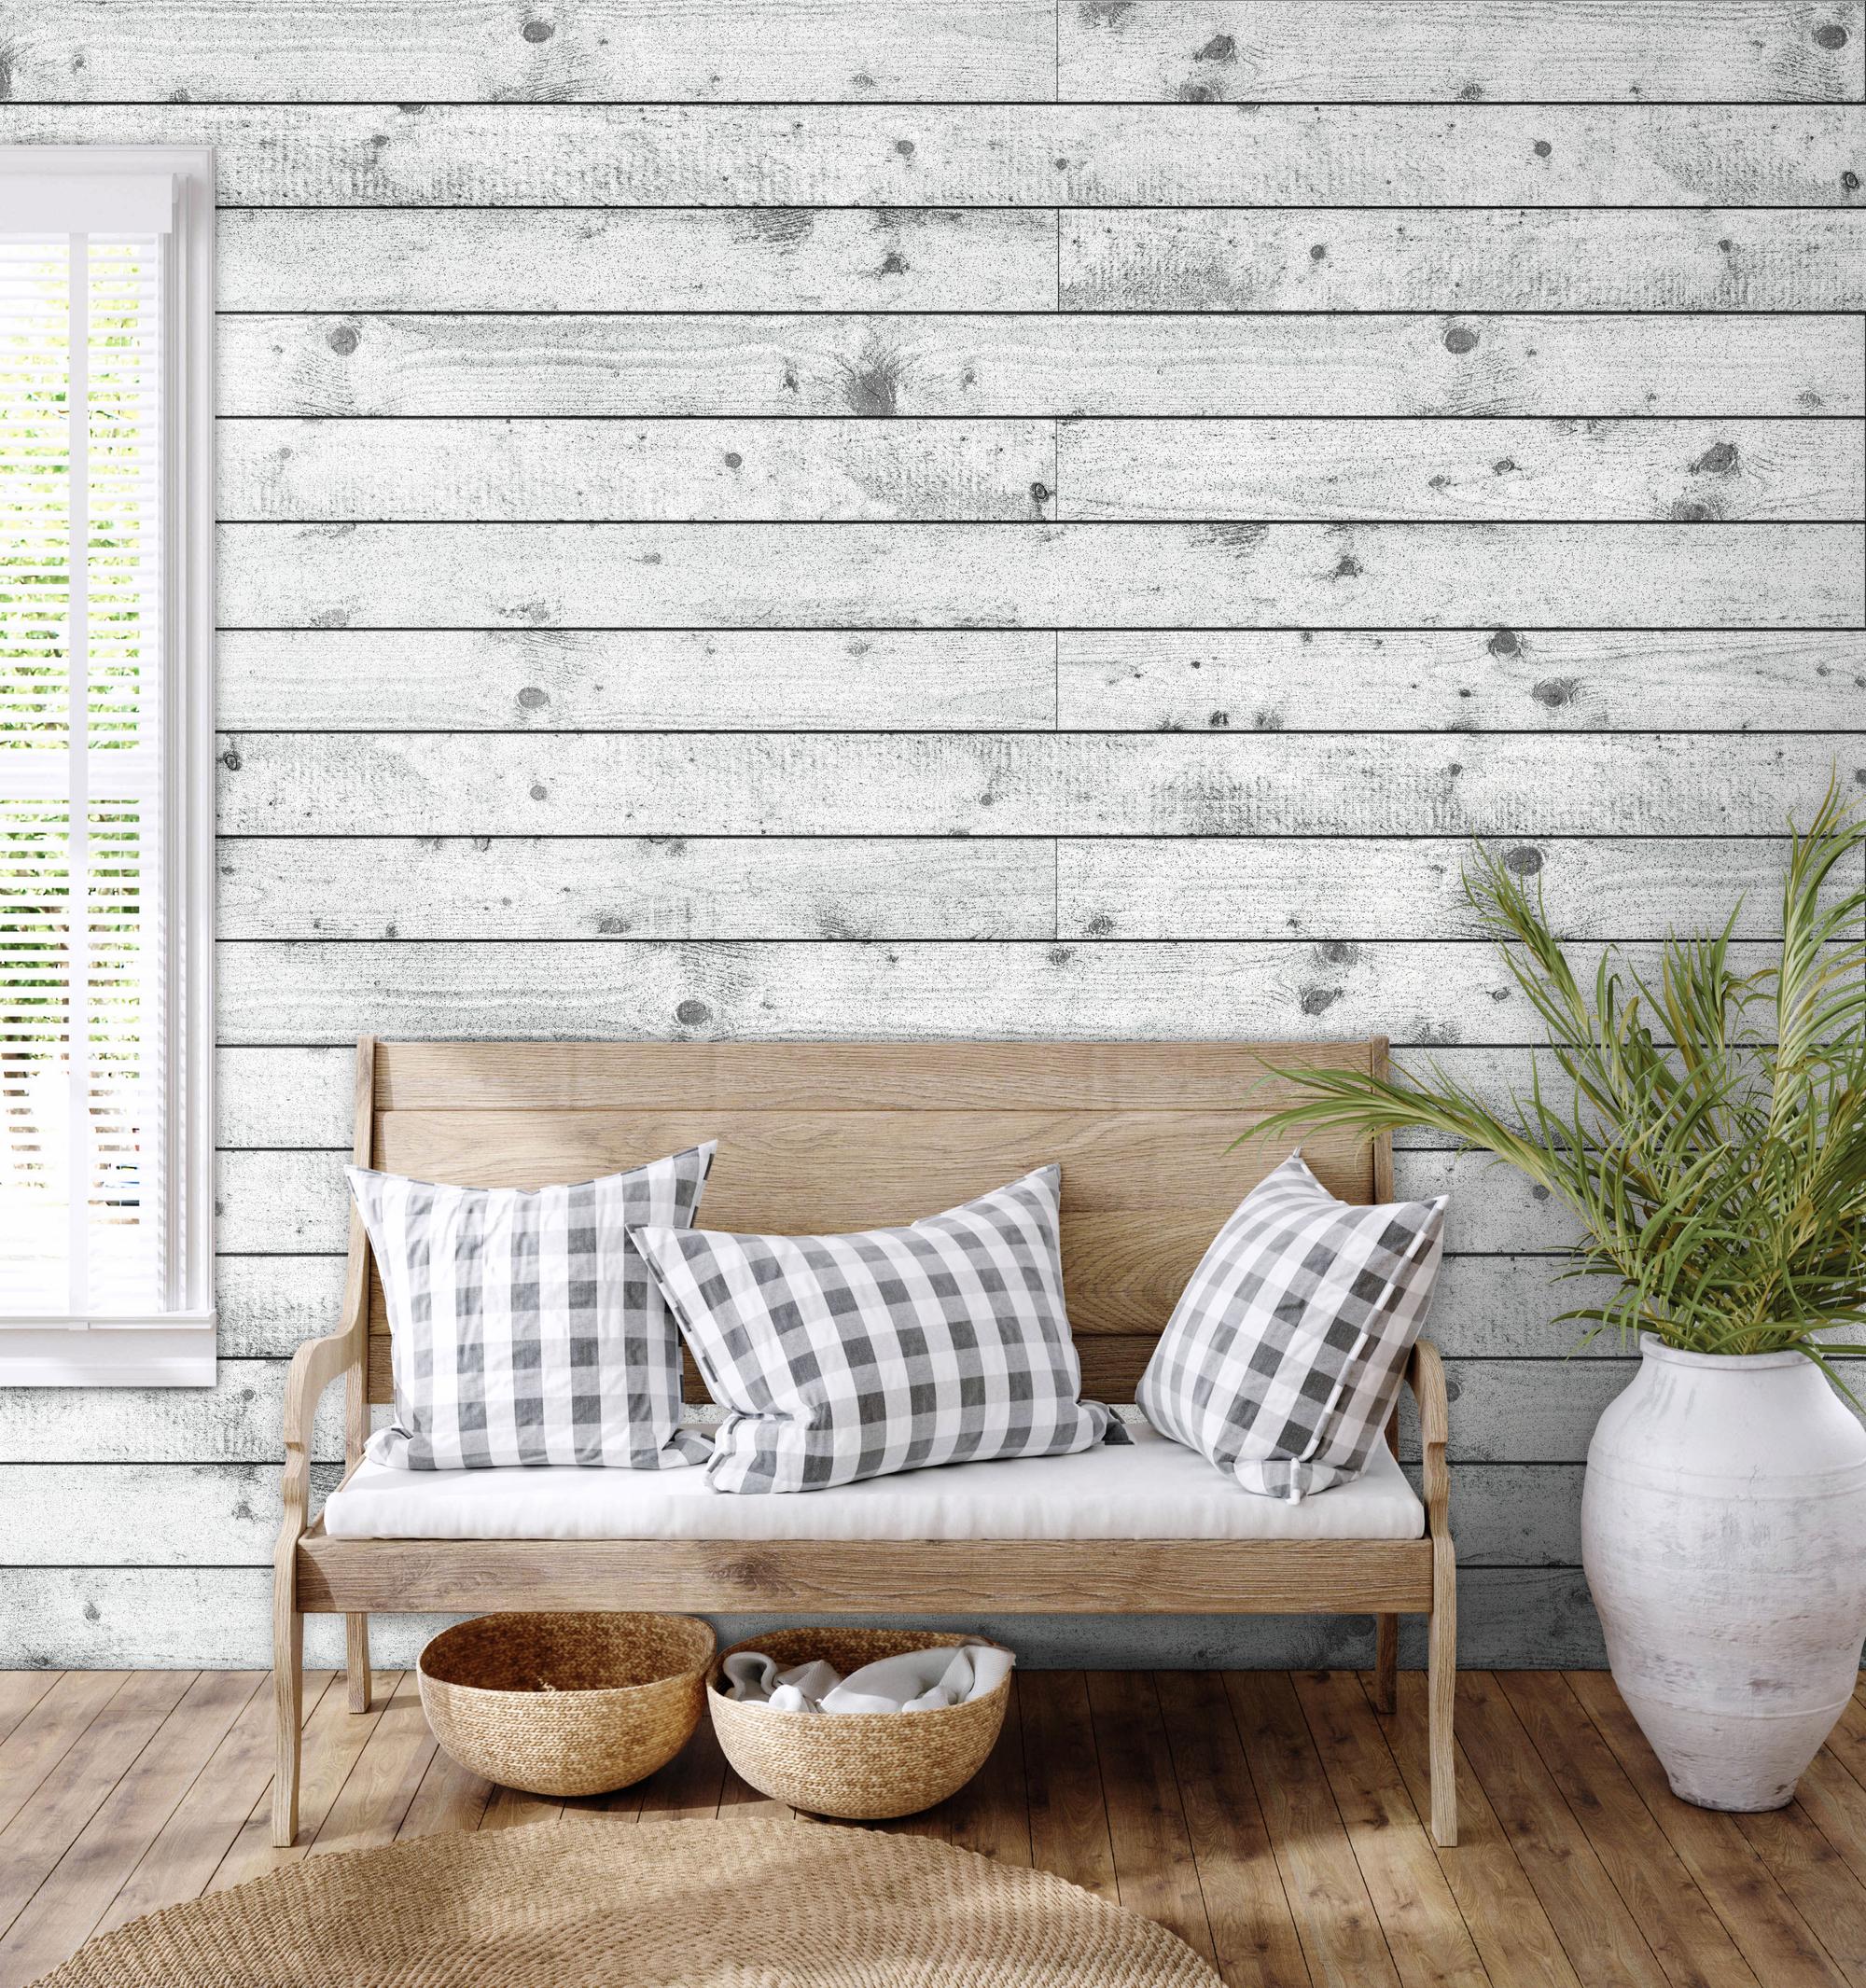
Accent Walls
Nothing makes a statement like a well-designed accent wall, and shiplap is your ticket to pulling it off with style. Shiplap draws the eye and can make a room feel more spacious. You can install it in your living room behind your couch or the television in your entertainment room – the possibilities are almost endless!
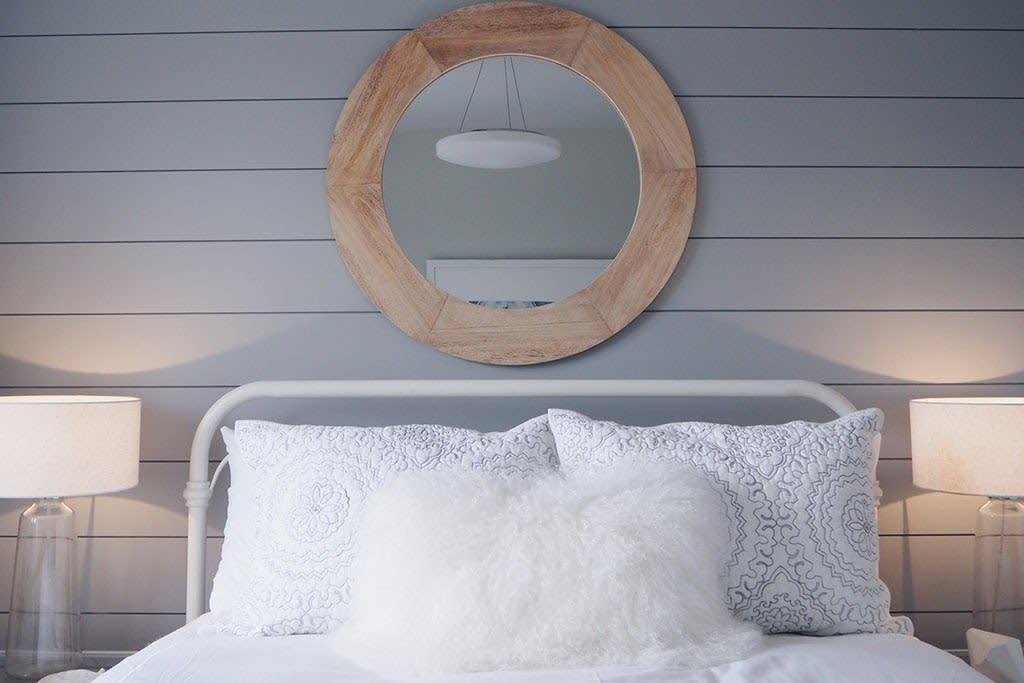
Bedrooms
If you’re looking for an innovative way to update your bedroom decor, consider using shiplap as a headboard. This can introduce an unexpected yet chic texture to your bedroom design and incorporate an element of coziness and warmth that’s essential for a good night’s sleep.
Bathrooms
Given its roots in shipbuilding, shiplap is naturally moisture-resistant, which makes it an excellent choice for bathrooms. Whether you install it on the walls for a spa-like vibe or use it to create a standout vanity, shiplap can make your bathroom look and feel luxurious.
Kitchens
With the kitchen being the heart of the home, using shiplap as a backsplash can truly elevate your culinary space. It not only adds visual interest but it is also practical, and will protect your walls from splashes and spills.
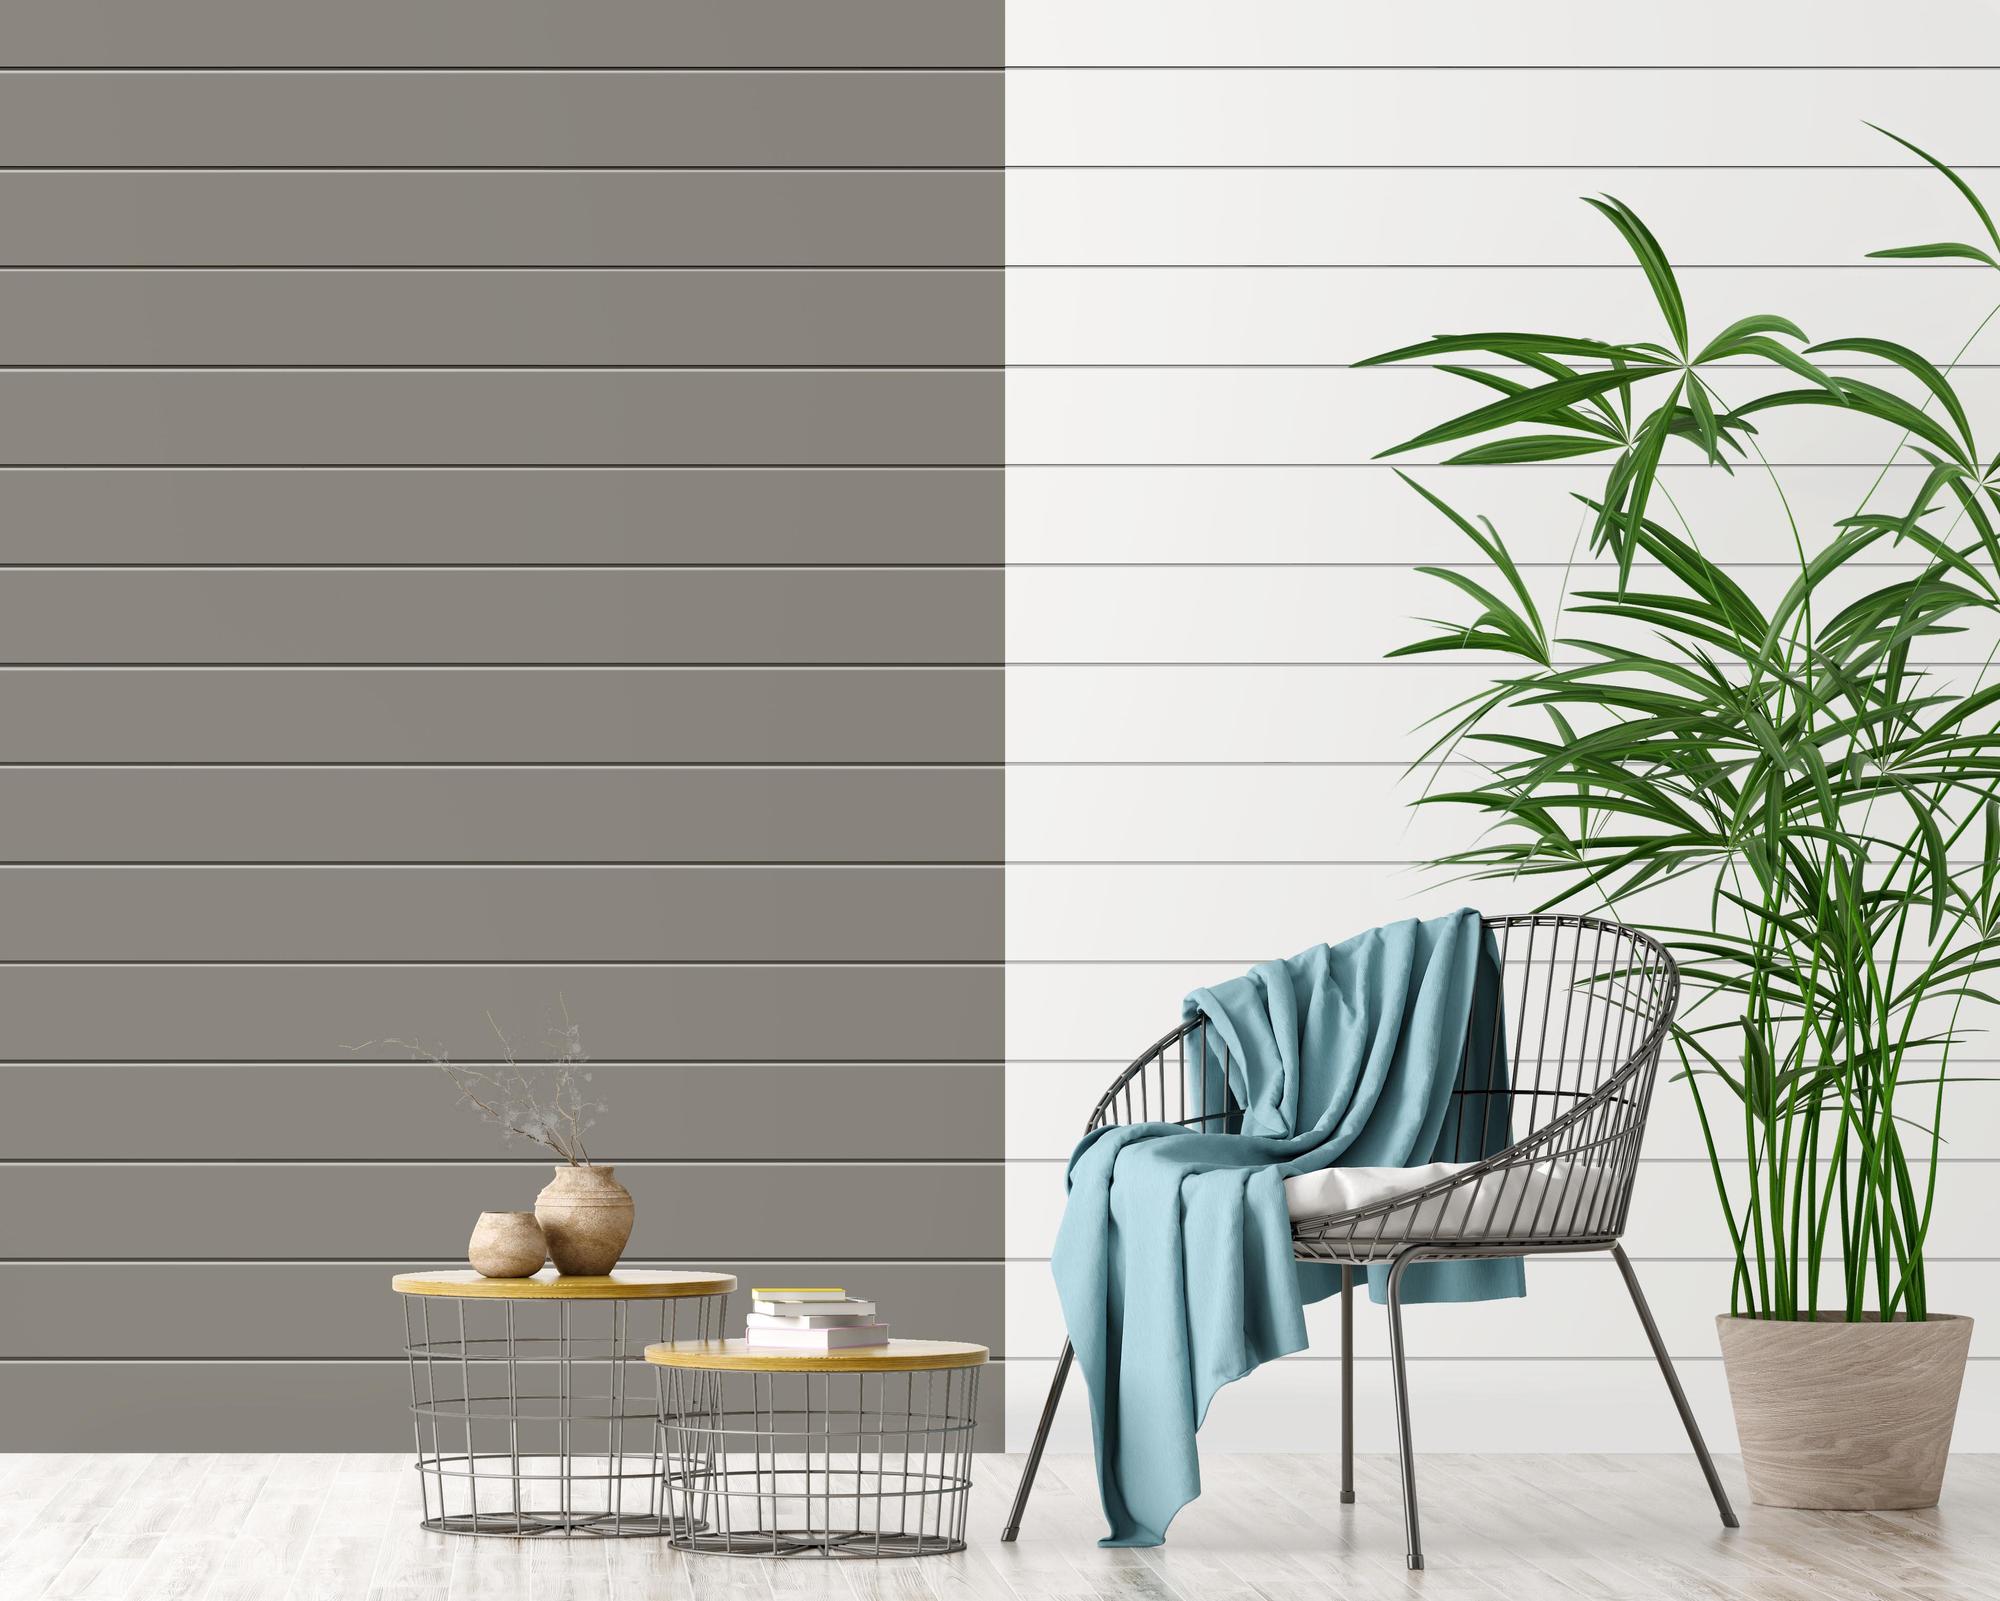
Shiplap can also make a grand impression in your entryway, create a cozy atmosphere in your dining area, or bring a touch of elegance to your staircase. The beauty of shiplap is that it can be adapted to fit your personal style, whether it’s farmhouse chic, sleek and modern, or somewhere in-between.
How to Install and Finish Shiplap Edges
Getting shiplap up on your walls is just half the battle. Ensuring that the edges are finished to perfection is what really seals the deal. For those tackling the job themselves, here’s a step-by-step guide to making sure your shiplap edges look as polished as they should:
Step One: Measure Your Wall
Accuracy is everything for this step, so double-check your measurements and always remember the carpenter’s rule: “Measure twice, cut once.” This will ensure you can order the appropriate amount of shiplap to cover your wall without too much waste.
Step Two: Choose Your Boards
Your choice of shiplap boards will impact the overall appearance of your wall. Pre-primed shiplap boards are a great choice if you’re planning to paint over them later.
Step Three: Install Your Boards
Start your installation from the bottom of the wall and work your way up. Each board should fit snugly into the next, and should create a small gap between each board that gives it the tell-tale shiplap look. Use a level while working to ensure that your boards are straight and well-aligned.
Step Four: Trim The Edges
Depending on the size of your wall, you might need to trim the last piece of shiplap to fit. This is where measurements come in handy. Always trim from the top piece of shiplap to maintain the flow of the pattern.
Step Five: Finish The Edges
Once all shiplap boards are installed, it’s time to finish the edges. It can be a complex process, so pay careful attention while you’re working and take your time.
Fill Gaps
First, you will need to check for any gaps or inconsistencies along the edges of your shiplap. If you find any, you will need to fill them in with a high-quality wood filler. Be sure to overfill slightly, as the filler will shrink as it dries.
Sanding
After the filler has fully dried, sand down the filled areas until they’re smooth and flush with the surface of your shiplap. Use fine-grit sandpaper for the best results.
Paint or Stain
Finally, decide whether to paint or stain your shiplap. Light shades can open up and brighten a room, while darker hues create a dramatic, sophisticated ambiance. If you want a more rustic look, consider staining your shiplap to bring out the natural wood grains.
Sealing
Regardless of whether you paint or stain your shiplap, you should seal it with a protective finish. This will preserve the color, prevent damage, and make your shiplap easier to clean.
With a little time and patience, you’ll have a beautifully finished shiplap wall that not only elevates your interior design but also serves as a testament to your DIY prowess.
Remember, the devil is in the details, especially when it comes to finishing your shiplap edges. So, take your time and have fun with it!
Elevate Your Interior Design with Shiplap from Metrie
Ready to give your home a shiplap makeover? Metrie has a wide variety of top-tier shiplap products that can transform any room into a visual masterpiece. No matter your style, Metrie’s shiplap can take your design vision to new heights.
Don’t just take our word for it, though. If you have any questions or need guidance on your shiplap journey, we’re just a call or click away. Let’s create your dream space together with Metrie!