Interior Window Sill Moulding and Wood Trim: Replacement Steps, Materials, and Finishes
December 19, 2022
By: The Finished Space
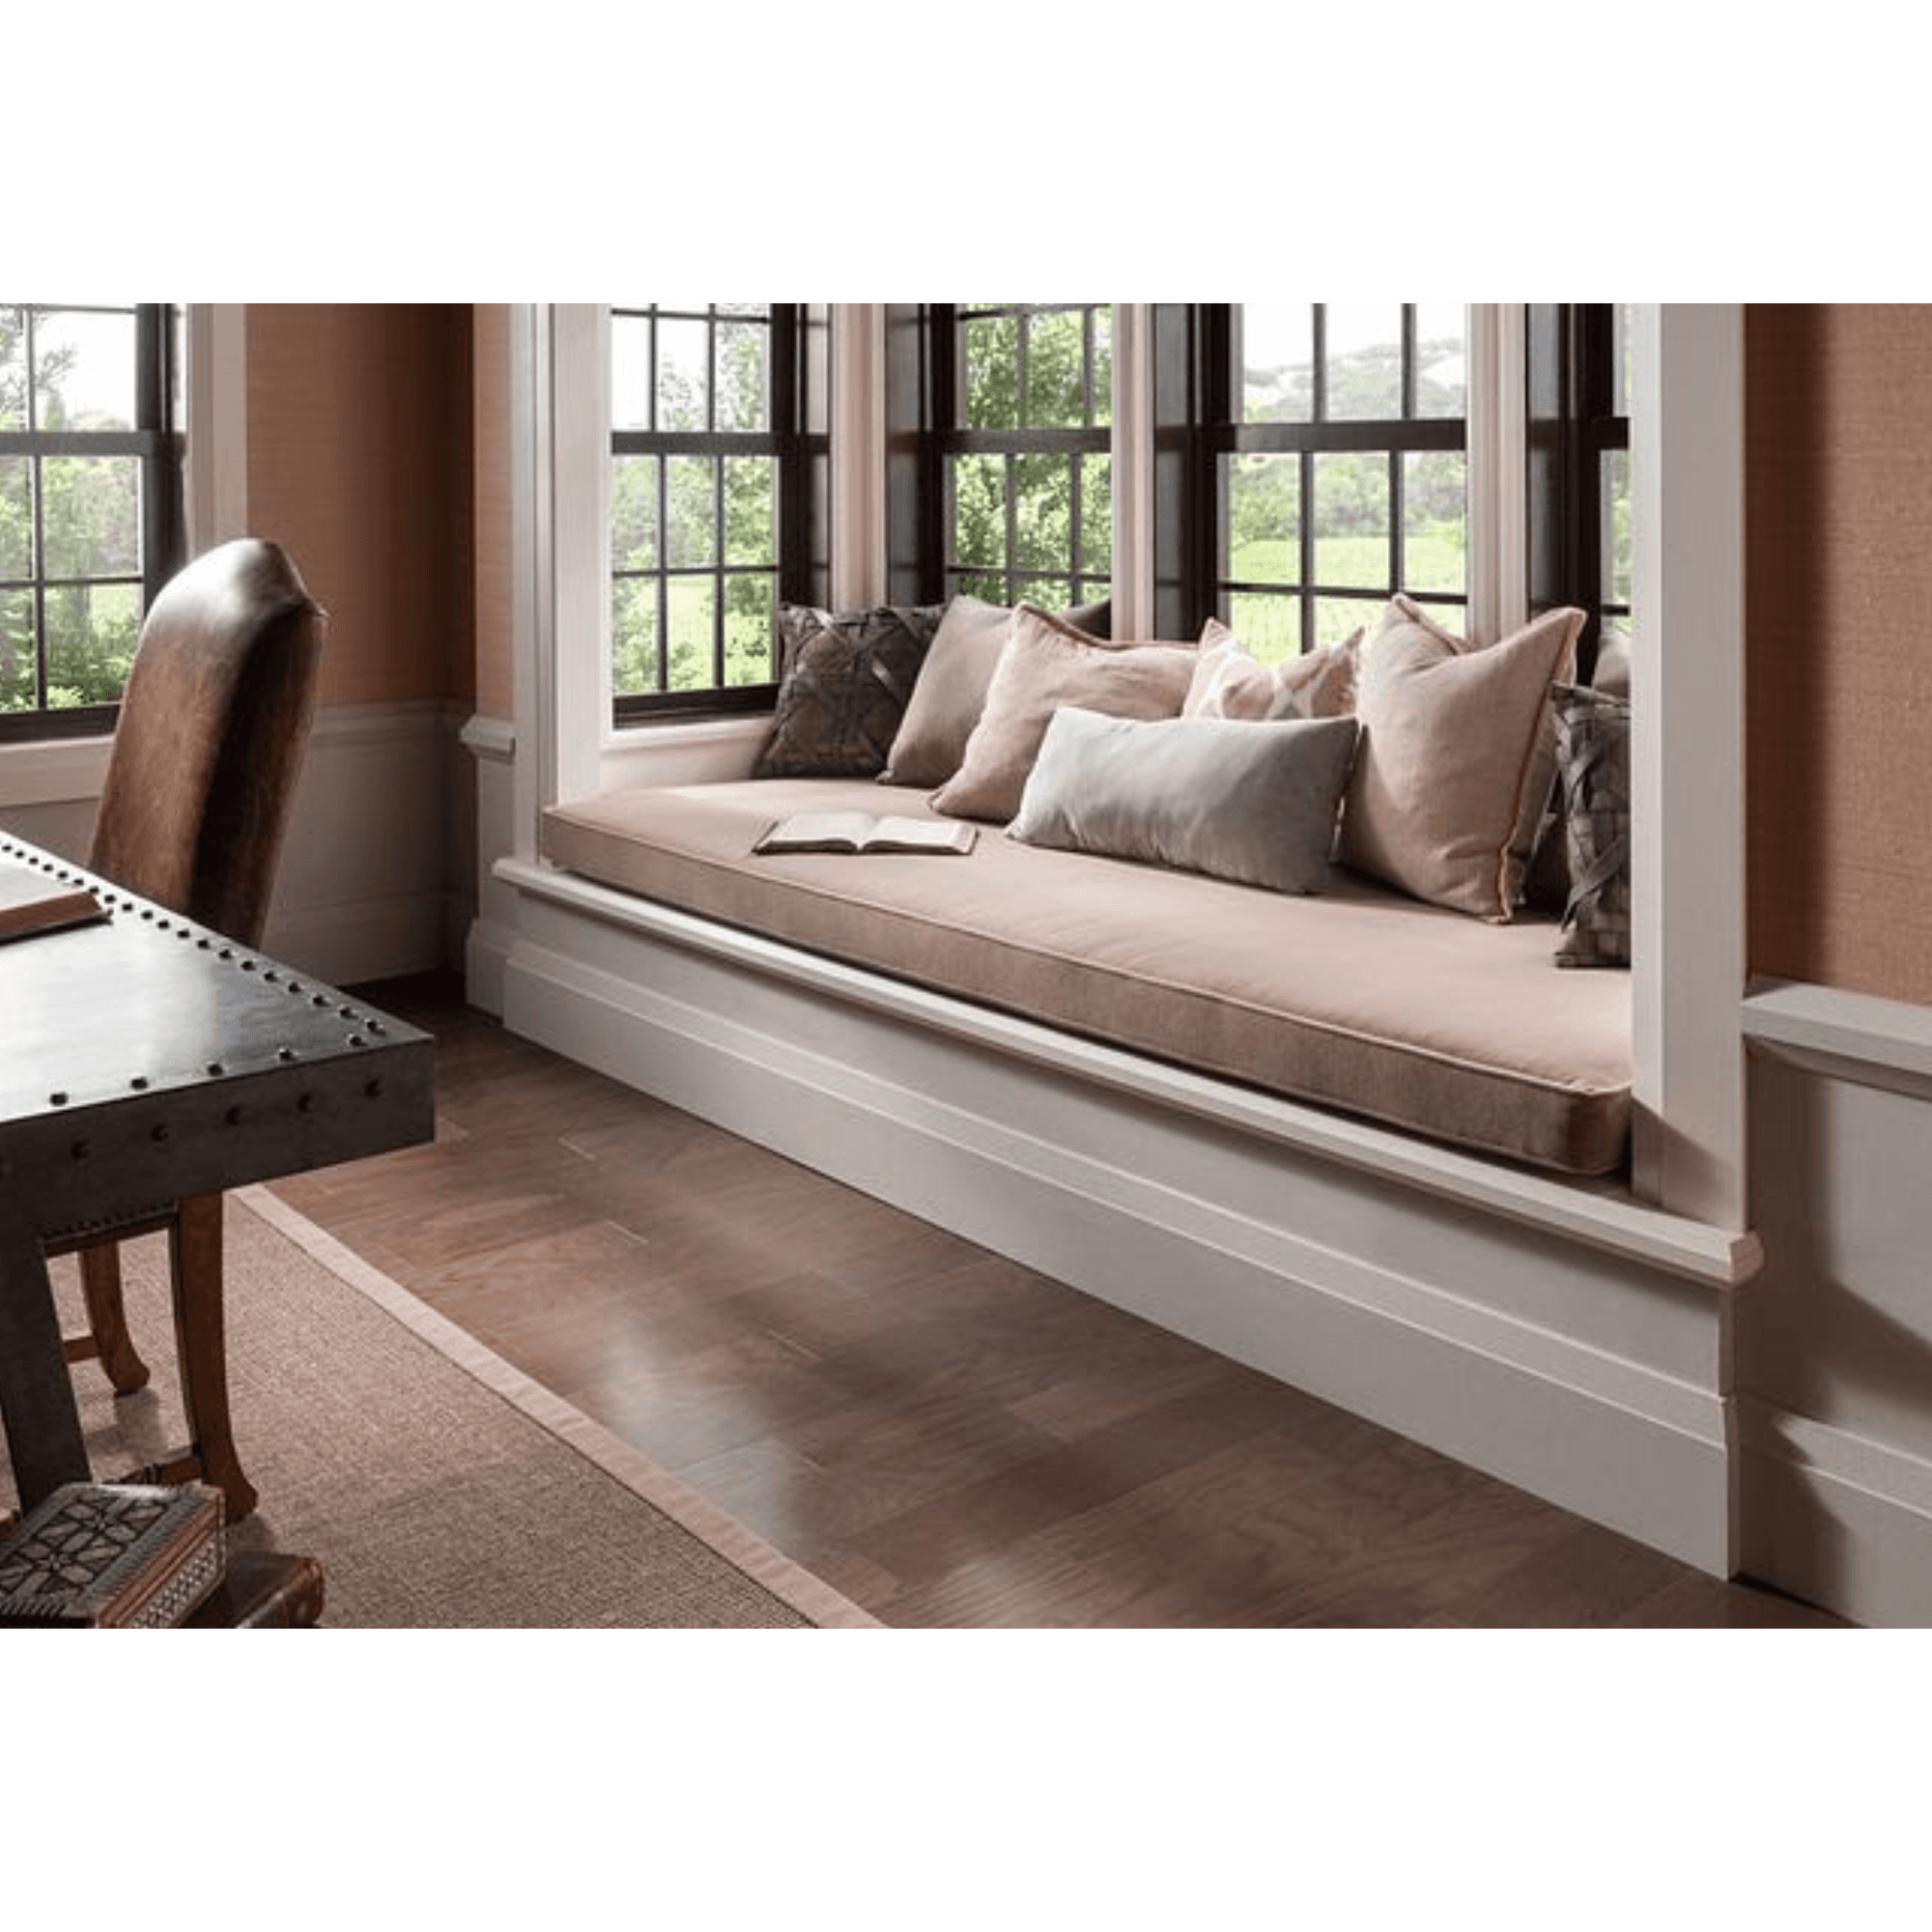
Interior window sill moulding and wood trim can dramatically improve the look of any room. Not only do they give windows a finished appearance, but they can also tie the room together and create an overall elegant design. What happens when the window sills are worn or outdated? Replacing sills and wood trim is a straightforward but sometimes complex process. Let’s take some time to discuss how to replace window sill moulding and trim, the materials and finishes you can use for the job, and the steps to take for a successful installation.
10 Steps for Replacing Interior Window Trim and Moulding
Interior window trim and moulding are essential to creating a cozy, finished look for any room. Whether you’re renovating an old home or updating your existing space, replacing your window trim is a relatively simple project that any homeowner can tackle.
Here’s a step-by-step process for replacing interior window trim and moulding:
Step 1
Begin by removing the existing window trim and moulding. Make sure you don’t damage the wall or window frame during removal because it can add time to the process.
Step 2
Measure the width and length of the window frame where the trim and moulding will be installed. You’ll need this measurement to cut your trim and moulding down to the correct sizes.
Step 3
Purchase your interior window trim and moulding. Make sure to select the proper trim and moulding material for the room, by considering humidity, temperature, materials, and style.
Step 4
Cut the trim and moulding to fit the frame using the measurements you took in Step 2.
Step 5
Apply a thin line of adhesive along the back of the trim and moulding, and then press them firmly into the wall.
Step 6
Drill holes at the top and bottom of the trim and moulding. We recommend keeping them spaced six inches apart from each other. Nowadays, pin nailers are very typical for installation for a great finish.
Step 7
Secure the trim and moulding with nails.
Step 8
Apply a line of caulk along the joints between the trim and the wall. Then smooth it out with a damp cloth to give the finished product a clean look.
Step 9
If you still want extra customization, paint the trim and moulding to match the rest of the room.
Step 10
Finally, use a putty knife to fill in imperfections and finish the project, and then you’re good to go!
Replacing window trim and moulding is an easy and cost-effective way of refreshing the look of your home. With a few simple steps, you can make any room look brand-new!
3 Interior Window Trim and Moulding Material Options
Window trim and moulding can add architectural detail and individuality to a home’s interior design. Whether you’re looking to replace an existing window trim finish or upgrade the look of your home, there are a variety of materials to choose from.
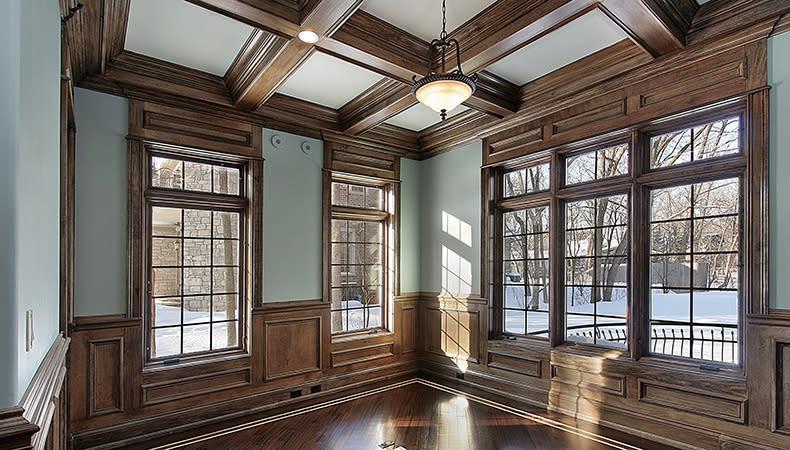
1. Wood
Wood trim is often used to evoke a natural, classic look. While MDF and finger-joint pine are the most commonly used, solid wood is an option. It does require some maintenance and may be prone to splitting and cracking if not properly cared for. Engineered wood products are excellent alternatives that provide a smooth finish and lasting durability with minimal upkeep.
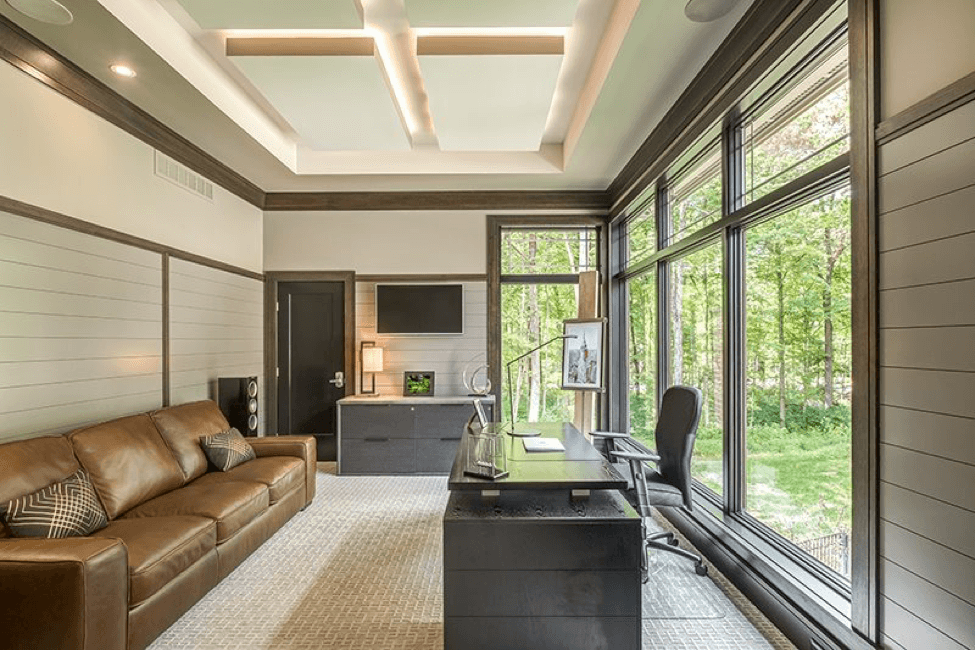
2. Metal
When a more modern look is desired, metallic trim is a great option. You can line the perimeter of the window with a trim of brass, aluminum, or stainless steel for a sleek, modern aesthetic. Metallic trim also adds an industrial touch with its smooth, reflective surface and an extra layer of protection.
3. Vinyl
Vinyl trim is a low-maintenance and an easy-to-install option for windows. It offers unrivaled versatility, since it is not limited to straight cuts and can be used for intricate designs. It can also mimic the look and feel of wood, metal, and other materials, which makes it a great affordable option to add style to your windows. It is also good for high humidity or areas where the moulding will get wet.
Interior Window Trim and Moulding Finishes
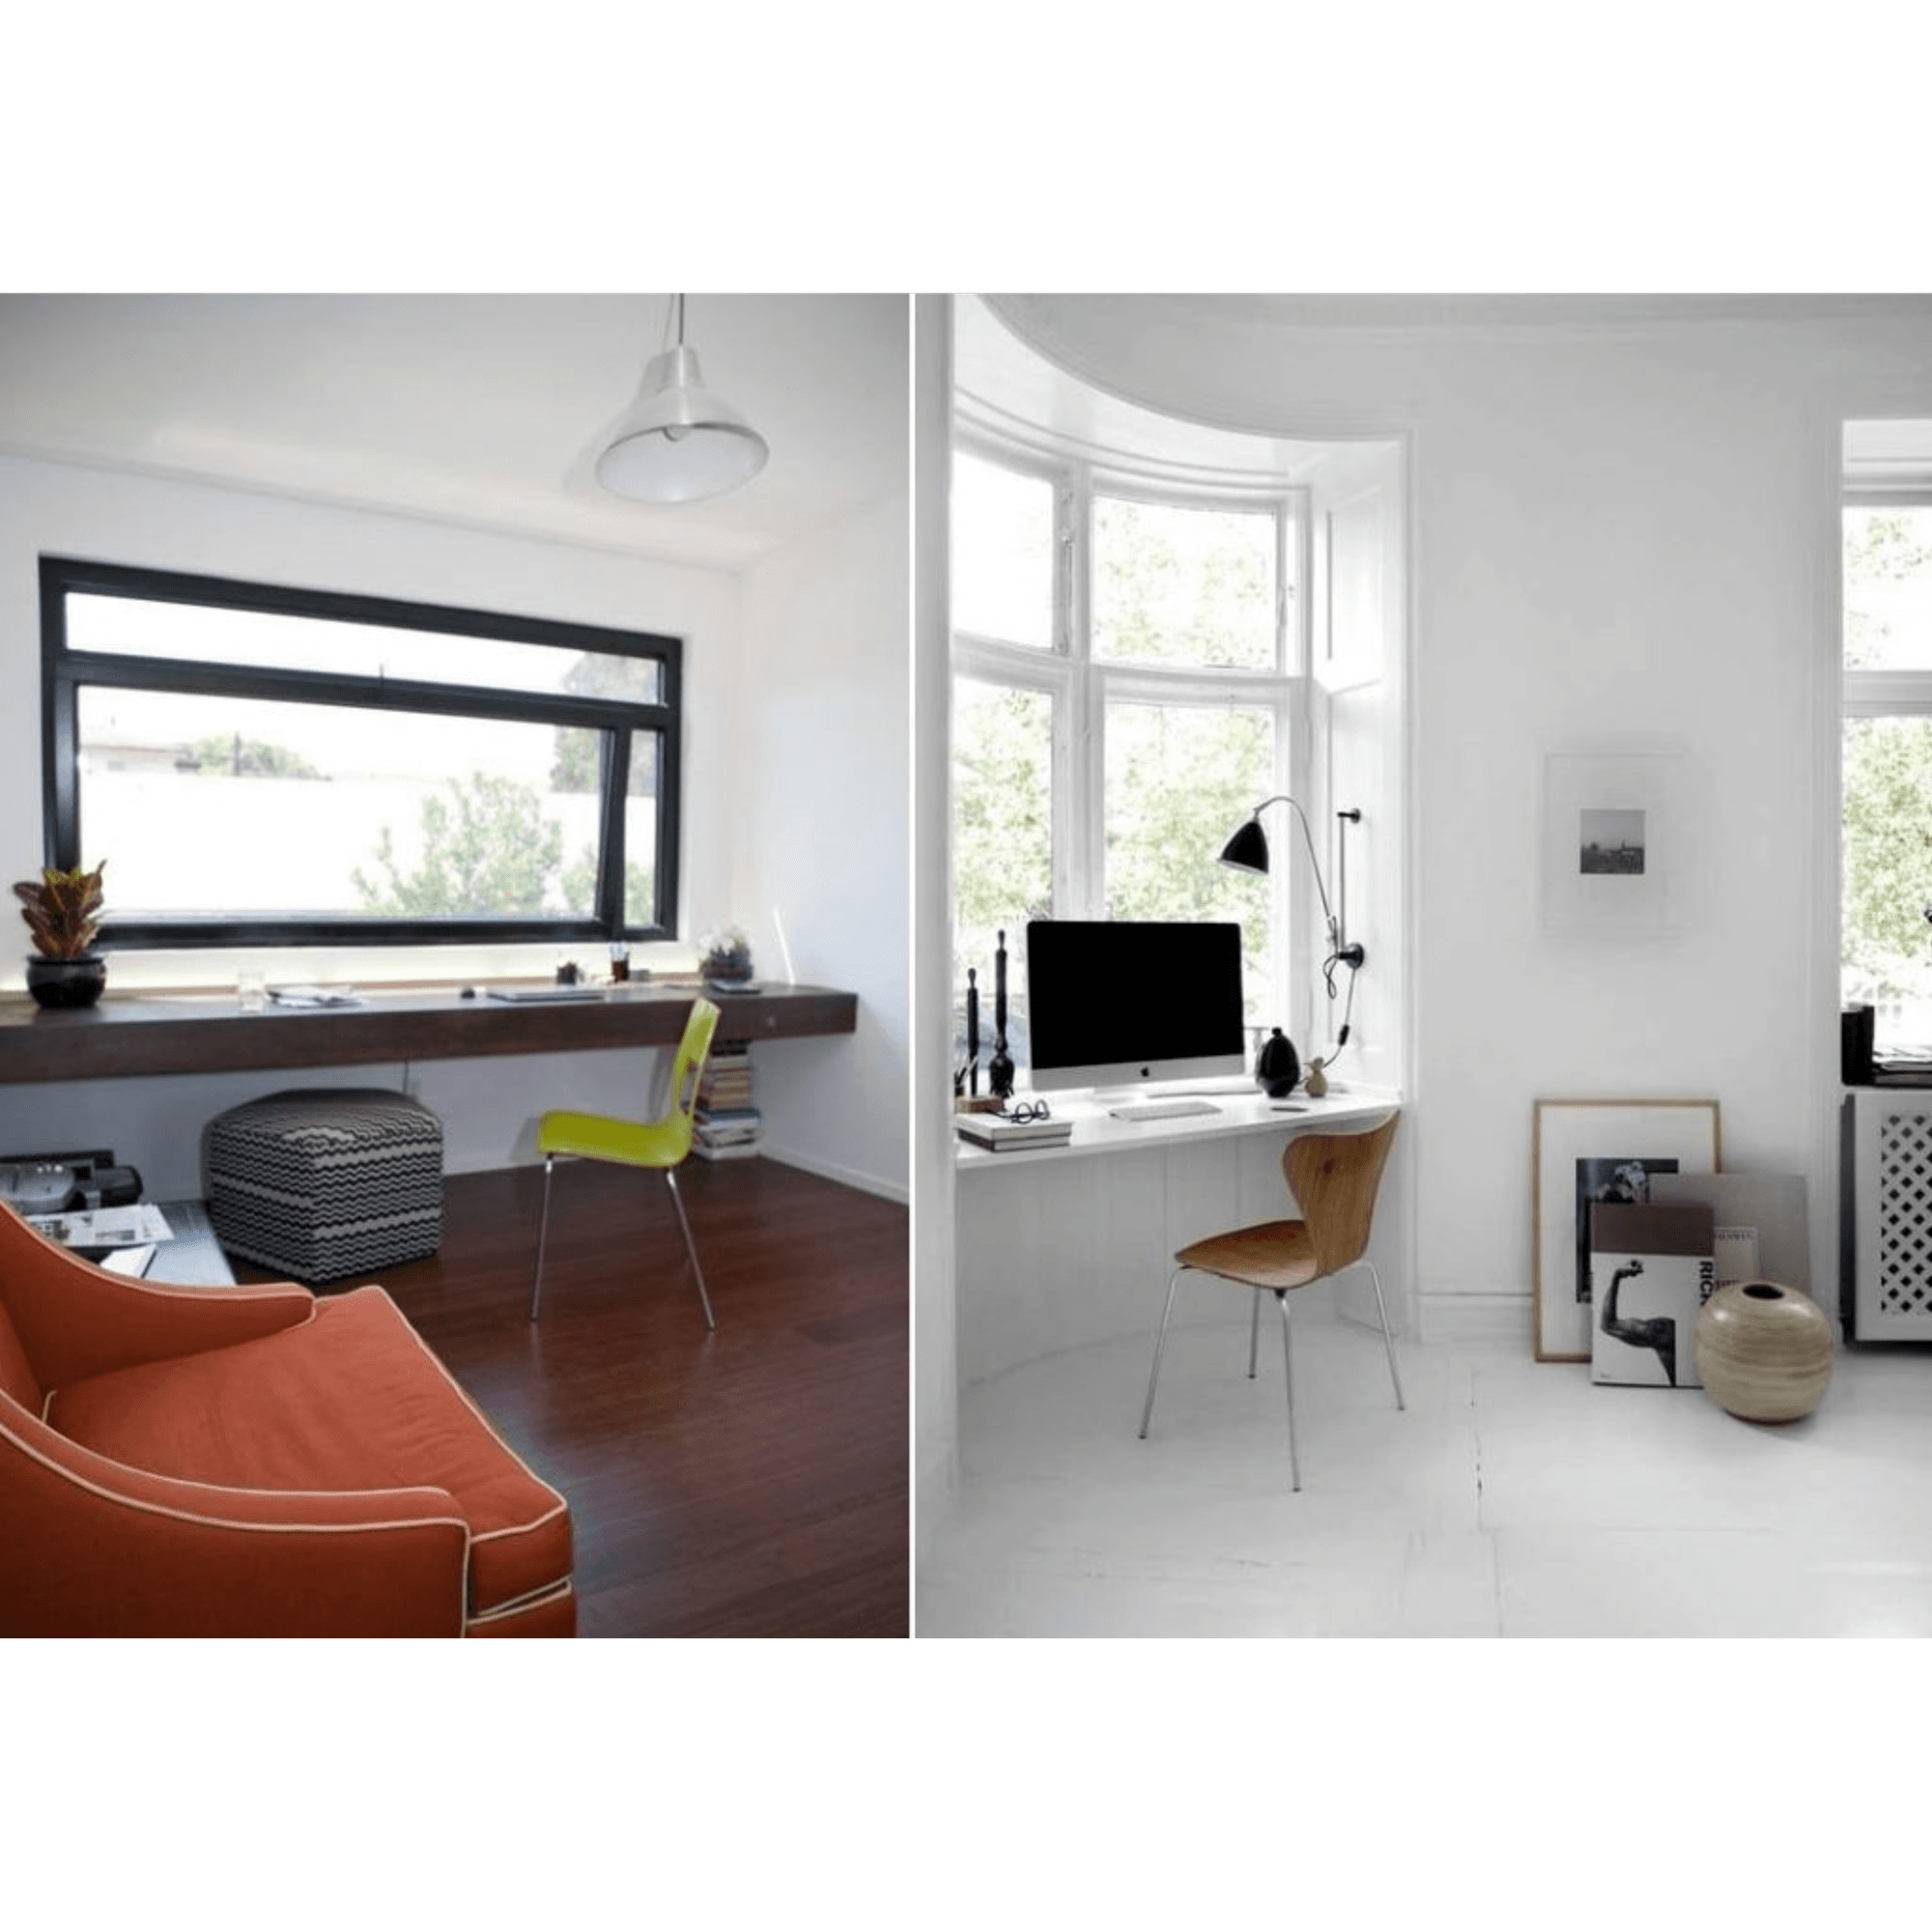
Most window trim and moulding options come in a wide array of finishes and can be customized to match your interior décor. Before you commit to a type of interior window trim, check out all of the available options. If you have any questions, be sure to reach out to a professional.
No matter the style or finish of your windows, an added layer of trim and moulding can take them to the next level. Trim and moulding not only increase your windows’ visual appeal, but they also help to protect them from the elements and add an extra layer of insulation. With the wide variety of materials and finishes available, you’re sure to find the perfect look for your home.
Looking for Interior Window Trim and Moulding for Your Home?
Make your interior design dreams come true with Metrie’s extensive product line! We offer a vast selection of interior window trim and moulding, so it’ll be easy to find the perfect pieces to complete your project. We have great prices, so it’s never been easier to transform your home.
While you’re here, be sure to check out Option {M} today. It’s a creative design tool that pairs popular interior design trends with a specific type of trim or moulding, making it easier than ever to purchase the right trim and moulding for your home.